![Mastodon's own instance for non-techies [ENG 🇬🇧]](/images/ossrox.png)
🇵🇱 Przejdź do polskiej wersji tego wpisu / Go to polish version of this post
Table of contents:
The popularity of the social network Mastodon is constantly growing, and more and more people are fleeing from sinking Twitter to the decentralized Fediverse. If you are reading this post and you do not fully understand the idea of Fediverse or even Mastodon, I refer you to my post on this topic. I must admit that I have become very, very immersed in the Fedi, so at some point I decided to launch my own instance. Of course, we are not talking about something big here, because I could not afford the time to maintain the server and even moderate the content at an appropriate level. From the beginning, I thought about a space just for myself, a Single User Instance. As it happens, about a week ago, I launched such an instance, doing so with the lowest possible amount of work while maintaining the lowest possible cost. In this post, I will share exactly how it looked in my case.
Available options
There are many ways to run your own instance. You can do it on a server set up at home (e.g. Raspberry Pi, Terminal or just an old computer) or on a rented VPS. You can go through the whole installation step by step as described in the documentation, or use a ready-made environment for running such things, such as Yunohost, which is much more user-friendly, especially for non-technical people. Another interesting option is to use the 1-Click App Marketplace offered by DigitalOcean, which is a kind of store with applications that can be launched in the cloud with just one click and are called Droplets. There is a Droplet available specifically for Mastodon. This is a very cool option because on the one hand, it’s easy to launch, and on the other hand, we get full access to the server and the software running on it, which allows us to fully configure our instance, of course, if we have the skills and knowledge to do so. The catch is that this solution costs a lot, as the cost of launching the cheapest instance is $12 per month (1vCPU, 2GB RAM, 50GB disk space, and a 2 TB monthly transfer limit).
However, there is another option that I would call dedicated for non-technical people, or simply those who do not want to spend several evenings fighting with a constantly malfunctioning configuration, reading documentation, or looking for a solution to a problem on StackOverflow and getting annoyed that it was actually easy to solve. This method is to use so-called Managed Hosting. This means that we pay someone to launch an instance for us, perform basic configuration, and then monitor its proper operation. The advantage of this solution is that we will be led by the hand, so virtually no technical knowledge is required from us. Moreover, it doesn’t cost much, as in my case I can say that it costs 5 euros per month (in Polish zlotys it’s less than 25 PLN). The disadvantage is the lack of access to the machine on which the instance is located, as well as the lack of access to its code. This takes away the possibility of more advanced configuration and personalization.
The process of creating my instance
First of all, I would like to dispel any doubts that may arise and declare that none of the links contained in this post are affiliate, and I do not derive any financial benefits from recommending this or any other solution.
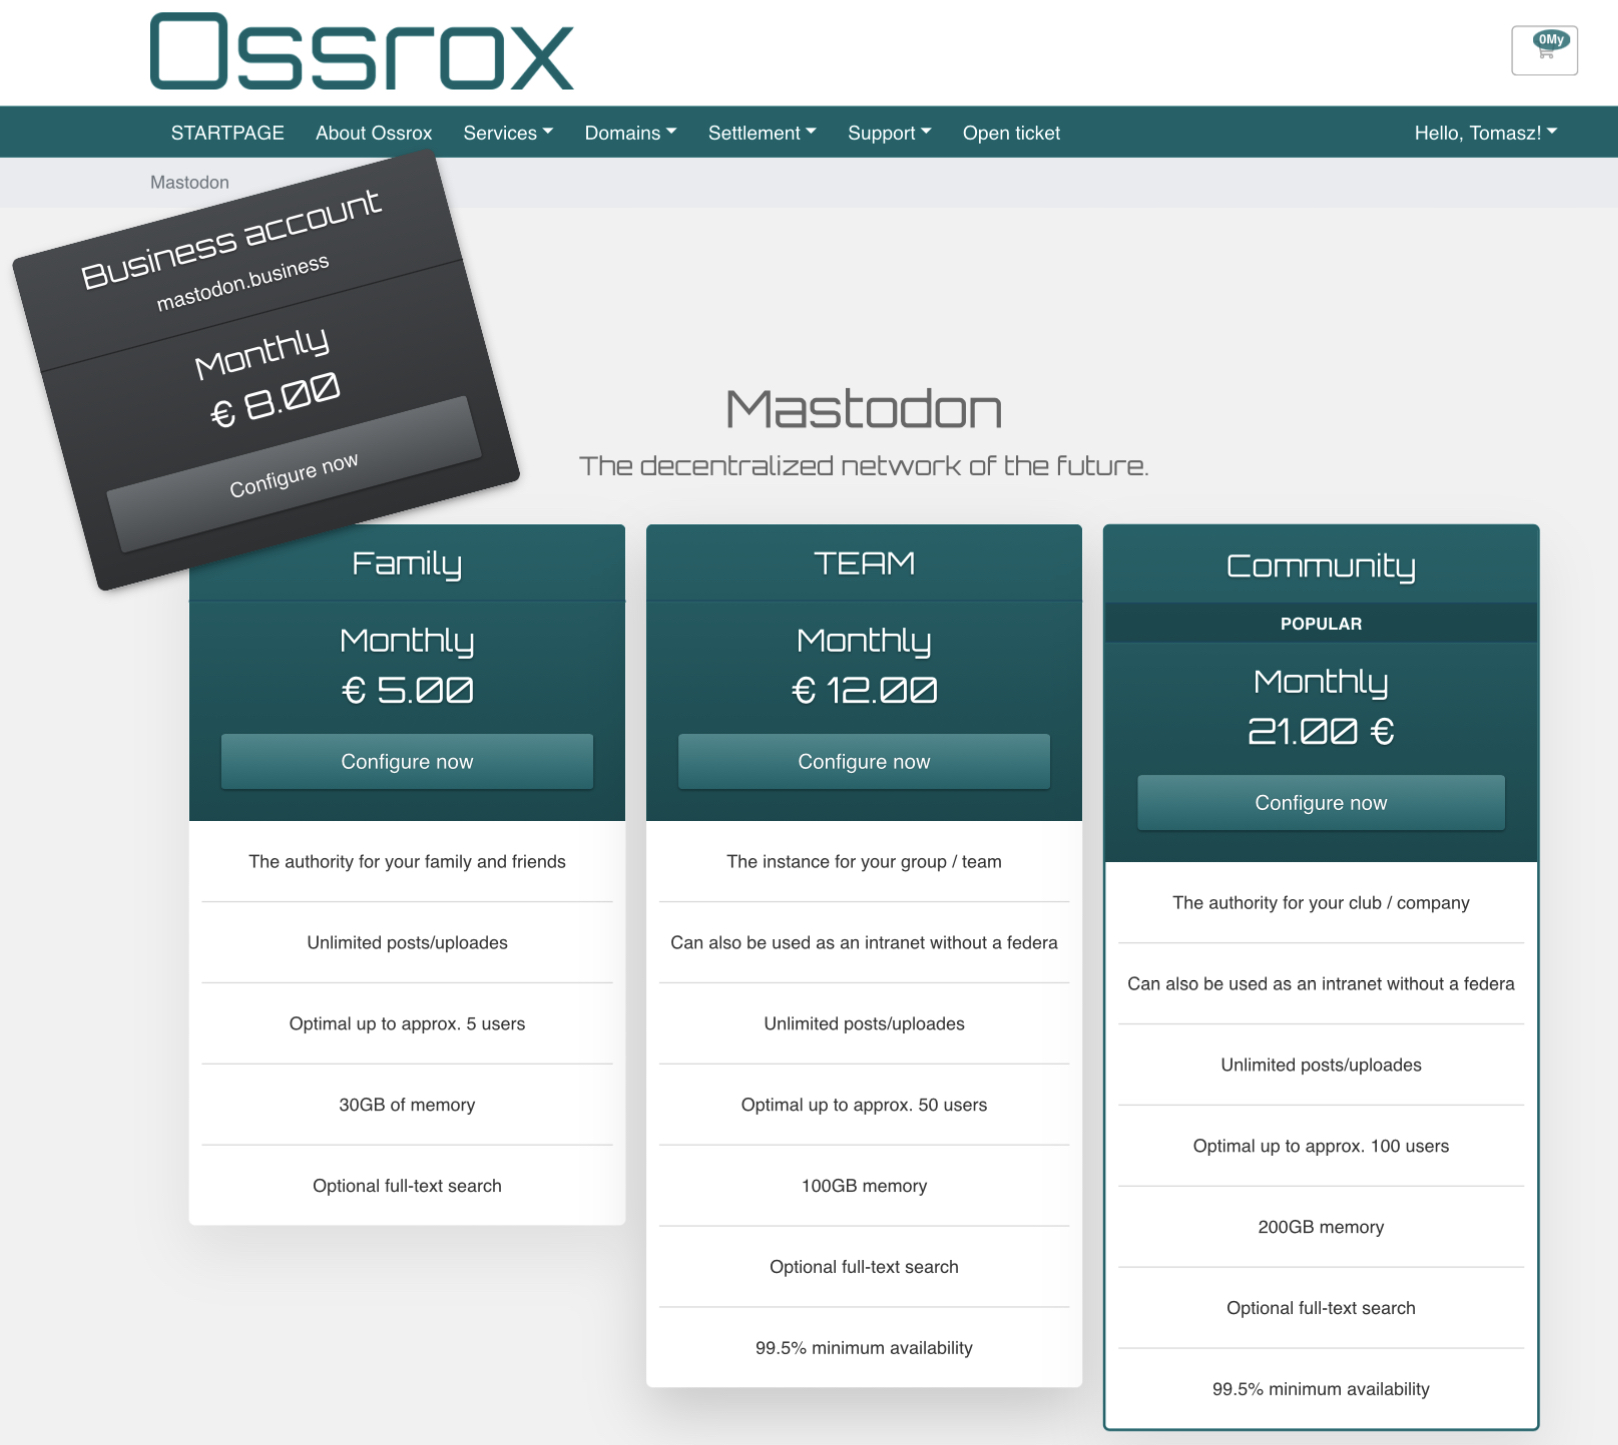
As a managed hosting for my instance, I chose ossrox.org, which, after a short market research, turned out to be a provider with the best price-to-quality ratio, or rather the offered parameters. Additionally, it seems to be a fairly small company run by two Germans, so I thought there was a chance that they would be more flexible than larger providers. In retrospect, I can already say that I was partly right, because there were a few things that could be configured in Ossrox that are not configurable, for example, in masto.host. I chose the lowest package Familie, which costs 5 euros per month. When choosing a managed hosting, the most important thing to pay attention to is the amount of disk space offered. In the Familie package at Ossrox, I have 30GB, which in my opinion is OK, but it would be great to have about 100GB or at least 50GB. Of course, all of this depends on how you use Mastodon, and specifically on how many people you follow and how much data those people generate (mainly referring to videos and photos, which take up the most space on the instance’s disk). Looking at my own example - I have about 300 followers who generate about 6GB of data with a 3-day data retention (more on this later). So, it can be assumed that one person generates about 6.6MB of data per day. Therefore, 30GB of memory should be enough for me, while maintaining these settings, for a scenario in which I follow 1500 people (5 times more than I need). If this is not enough, data retention can be reduced from 3 to 2 days, and then the maximum number of followers could theoretically reach 2250 accounts.
Before starting the process of purchasing a service at Ossrox, I suggest acquiring a domain that will be connected to our instance. To do this, I created a subdomain for my base address - mastodon.tomaszdunia.pl. It doesn’t matter what domain you have, the important thing is to be able to change its specific DNS records - A (for IPv4) and AAAA (for IPv6) or CNAME. The goal is to point the domain’s settings to the server’s address to which it should direct. In this case, the domain can be registered with provider 1, while the server is purchased from provider 2, and they don’t have to have anything in common except for the appropriate redirection.
Unfortunately, the Ossrox website is entirely in German. I even exchanged several emails with the owners offering to help with the translation. However, they are very busy, and they want to start the whole process by translating the privacy policy (which is a reasonable approach), and I wouldn’t be able to help them with that. Nevertheless, every translator can handle translating German into English with ease. It’s important that later communication regarding support or post-sales configuration can be conducted normally in English.
The purchasing process involves just a few clicks and the need to link a credit (or debit) card. It should be remembered that we will be paying in a foreign currency, so our bank must allow us to do so (this was said to people from countries with currency other than euro). I used Revolut. It’s important to note that the shortest period for which we can make a purchase is a quarter, which means that we pay in advance for a minimum of three months. To speed up the process, it’s good to include basic information such as:
-
The domain we want to link the instance to - in my case, it was the domain mastodon.tomaszdunia.pl
- I wanted my handle to be @to3k@tomaszdunia.pl, not @to3k@mastodon.tomaszdunia.pl. In other words, I wanted the main domain to be used in the handle, not the subdomain. This can be achieved by setting two parameters:
-
LOCAL_DOMAIN=tomaszdunia.pl
-
WEB_DOMAIN=mastodon.tomaszdunia.pl
-
-
The desire to enable Single User Mode, which causes the administrator profile to be displayed instead of the local timeline when accessing the main page of the instance mastodon.tomaszdunia.pl, which doesn’t make sense for a single-user instance.
-
In addition, I wanted Ossrox to change the default 500-character limit for a toot (rate_limit) to the highest they can set. It doesn’t make sense to have such limits for a single-user instance. However, in response to my ticket, I was informed that this change would require modifying the code and would be problematic for them because other users show little interest in such a change, and they would have to create a fork of the code with this change specifically for me. However, for an additional 5 euros per month, they agreed to make this change and set it to 2000 or 5000 characters. I did not choose to make this deal because it is not such an important function for me to pay twice as much as I pay for the server. However, I inform you that this option exists if someone is interested.
- I also asked if it was possible to remove the character limit on the bio in my profile and increase the number of links I can add to my profile. However, I was informed that they could not do this because it would be too much of an intervention in the Mastodon code. Oh well… I know it can be done, but even on managed hosting, I was able to negotiate a lot of configurations that were impossible with other providers (even more expensive ones).
Based on my experience, I suggest including only the topics from points 1-3 in the order comments, and if you want to decide on the additional cost of increasing the character limit, also write to them regarding point 4.
After making the correct payment, all that remains is to wait for a response from Ossrox with instructions for configuration. Essentially, I had only two things to do:
- Set up DNS records for my domain. I could do it in two ways (I assume that the values for you will be the same, but wait for confirmation):
-
A = 49.12.191.254 / AAAA = 2a01:4f8:c012:5147::1
-
CNAME = cname.ossrox.org
-
- Configure a 301 redirect from the domain tomaszdunia.pl to the subdomain mastodon.tomaszdunia.pl. This is done by editing (or creating if it doesn’t exist) the .htaccess file in the main domain. You need to add this line at the beginning of the file:
- Redirect 301 /.well-known/webfinger https://mastodon.tomaszdunia.pl/.well-known/webfinger
After completing the necessary steps, unfortunately, we have to wait for the changes in the DNS to propagate, which may take up to 24 hours. However, it is the role of Ossrox to monitor when the configuration of the instance can be completed. After the configuration process is completed, we will receive an email with login and password for the user who is the administrator of the instance.
Instance administrator panel
Let’s go through all the settings tabs available to the administrator.
-
Dashboard - a summary and statistics panel. It is probably important for instances with more than one user, but in our case the only important information is located at the bottom in the SPACE USAGE section, which shows how much disk space our instance is currently using. The parameter that I previously operated on is called Media storage, which is the amount of space occupied by multimedia data (mainly - videos, photos, avatars) that belong to us or were downloaded from instances we follow. It is worth monitoring this parameter and setting the appropriate data retention value based on it, which I will mention in a moment because it is located in one of the tabs below.
-
Server Settings - the most important tab where we set practically everything that is important.
-
Branding - A tab where we can set basic information about the instance that is displayed on the homepage, which theoretically does not exist in the case of Single User Mode because it automatically redirects to our profile. Nevertheless, it is good to fill in this information.
-
About - A tab with more detailed information such as an extended description or privacy policy. It really doesn’t make sense to fill this out for a one-person instance.
-
Registrations - A tab where you should disable registration (of course, if you want a one-person instance). This is done by selecting the Nobody can sign up option from the Who can sign-up drop-down menu. As a Custom message, I entered This is a private server. Sign-ups are not available. If you want to join Mastodon use this https://joinmastodon.org.
-
Discovery - A tab related to recommending content on the basis of Discover. This has little significance on Mastodon, as decentralization does its job and there is no one list of trends, and it makes even less sense for a one-person instance. Nevertheless, in my opinion, it is good to select the following options: Enable trends, Allow trends without prior review, Allow unauthenticated access to public timelines, Publish aggregate statistics about user activity in the API, Publish list of discovered servers in the API, Enable profile directory. The rest can be not marked or left blank.
-
Content retention - This is probably the most important tab for every instance administrator, although only three parameters are defined in it. Retention means keeping data. The retention time of data practically determines how many days the data should be stored on the server and then deleted from it. Let’s start with how it works in the Fediverse. Instances federate with each other, which means they exchange data. When I start following someone, I tell my server to store all the data generated by that user on the server’s disk. In this way, when the user I’m following publishes a toot with a photo, his/her server will broadcast and distribute the content to all interested parties (including my instance). Then, by connecting to my server, I can display this data in my client (e.g., Ivory). The two first parameters in this tab determine how long this data will be stored on my server. The Media cache retention period specifies how long multimedia data (videos, photos, etc.) from other instances should be stored. I have set it to 7 days, which is sufficient for me. In fact, I even tested setting it to 3 days, and it turned out to be sufficient as well. It is important to note that even if we delete this data after, for example, 3 days and later want to return to it, it will be downloaded again. The only difference is that it may not be immediate, and we may have to wait a while to display it. The Content cache retention period parameter determines how long posts from other instances should be stored. Since posts do not take up much space, I left this field blank for now, which means they should never be deleted. I will see what to do with this parameter in the future. The last parameter is the User archive retention period, which is not very significant for a single-user instance because it specifies the number of days after which archives generated at the request of users will be deleted. Archives are a backup copy of our data, such as a list of followed users, blocked or muted users, bookmarks, etc.
-
Appearance - This tab concerns the visual aspects, allowing you to change the default graphical layout (color scheme) and modify the appearance of the instance page by introducing your own CSS code.
-
-
Server rules - This tab defines the rules that apply to the instance. It is a kind of regulation that users are supposed to follow. In the case of a single-user instance, it is not very significant, so I added only one rule to my instance: This is a private instance, so I don’t need to write rules only for me :).
-
Roles - This tab is used to manage user roles. You can appoint moderators and grant them permissions. It is completely irrelevant for a single-user instance.
-
Announcements - Messages to users, for example about an event. Not important.
-
Custom emojis - On Mastodon, we have the ability to define our own custom emojis. It’s a pretty cool feature. After some time, when our server federates with others, the list in this tab will start to grow significantly. From this tab, we can decide which custom emojis we want to see (allow), and which ones we don’t. If we like any of these emojis and want to use them ourselves, we can select them and use the Copy function, which will import the emojis into our instance and make them available for use in our toots or bio in profile.
-
Webhooks - Honestly, I haven’t played with this yet, but I assume it’s something like automation. We define a server to which messages about certain events occurring on our instance will be sent. It’s probably also possible to send back information about what reaction should be taken to these messages.
-
Relays - this is a bit of a complex topic. In short, relays are intermediary servers that collect subscribing instances into groups and allow them to exchange data. Being a member of such a group means that on our global timeline we will see toots from other instances belonging to the same relay. It also works in the opposite direction, as our toots will be sent and displayed on the global timelines of other instances. This is a way to find new people to follow, as well as to showcase ourselves to the world. Relays are the answer to the problem of small instances being isolated from the rest of the Fediverse. Does it work well? In my opinion, it’s average, because it’s hard to find really good relays that don’t have bad or weird instances connected to them that we wouldn’t normally want to federate with. It should also be noted that using a larger relay costs a lot of disk space. Currently, I’m experimenting by being connected to two relays: 101010.pl and infosec.exchange. We’ll see how it goes. To add a relay, after clicking the ADD NEW RELAY button, you need to provide the relay address followed by the phrase /inbox (e.g. https://relay.infosec.exchange/inbox). Then, you need to wait for your request to be accepted. Being a subscriber to a large relay means that you need to manage your server’s disk space more intensively, so during the above-mentioned tests, I changed the parameter Media cache retention period to 1 day.
Basically, that’s all we have access to as administrators. The remaining settings are the same as for regular users and identical to what we are used to on other instances.
Summary
I tried to describe all the above issues as succinctly and simply as possible. As you can see, creating your own instance is not difficult and certainly does not require extreme technical knowledge. Unfortunately, it is not free or even cheap, but neither can it be said that 5 euros a month is a huge amount of money. Having your own instance will certainly not be attractive to everyone, but since you are reading this post, I assume that for you, dear Reader, it is something interesting and worth considering. I hope that my post will help you in the decision-making process.
In the future, I plan to sit down and launch my own instance completely from scratch, without using managed hosting, which did all the technical part for me. I don’t know yet whether I will do it on a home server (Raspberry Pi or maybe a terminal with Proxmox environment, which will be covered in the next planned posts), in the Oracle Free Tier cloud, or maybe on Mikrus. However, at the moment, I consider my base instance to remain on managed hosting by Ossrox, because it is simply a certain solution, and I will leave self-hosting as an experiment, curiosity, skill extension, and fun.


