![Cryptomator - vault in cloud [ENG 🇬🇧]](/images/cryptomator.png)
🇵🇱 Przejdź do polskiej wersji tego wpisu / Go to polish version of this post
Table of contents:
In my previous post, I wrote about Nextcloud, which is a way to run your own network drive, commonly referred to as a cloud for files. But what if we run such a service on a server that is not located in our home, i.e., we don’t have full control over who can access it? Or what if we still want to entrust our data to services like Dropbox? Can we secure our data in such situations? Of course, we can, and one of the most interesting ways is a free tool called Cryptomator.
The principle of operation of this tool is amazingly simple, yet brilliant. It’s a typical case where beauty lies in simplicity. Cryptomator allows you to create a kind of encrypted container (a safe or a vault), whose content is only accessible after entering a password. We place such a container on a network drive, which is synchronized between all connected devices. Then, on the end devices, the container is decrypted through the Cryptomator application and shared as an additional network drive. In practice, after proper initial configuration, the security level is dramatically increased, and the convenience of use is not disrupted in any way.
Installation and Configuration
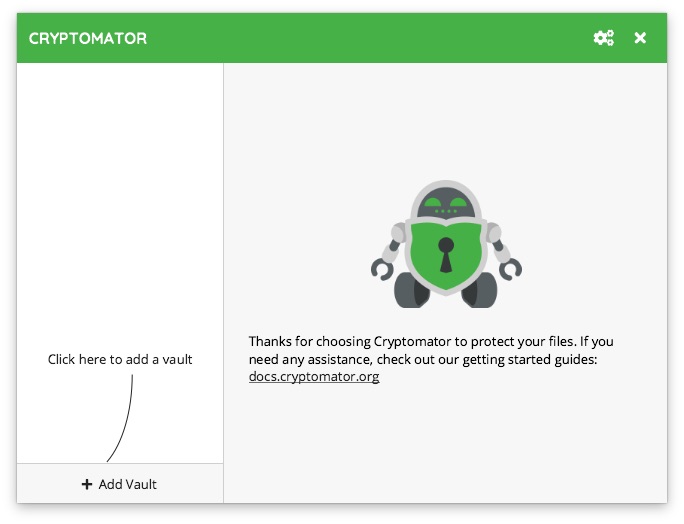
Let’s start with downloading the application suitable for our system. I believe that everyone will manage to install it. After launching Cryptomator, we immediately start the process of adding a container by using the + Add Vault button.
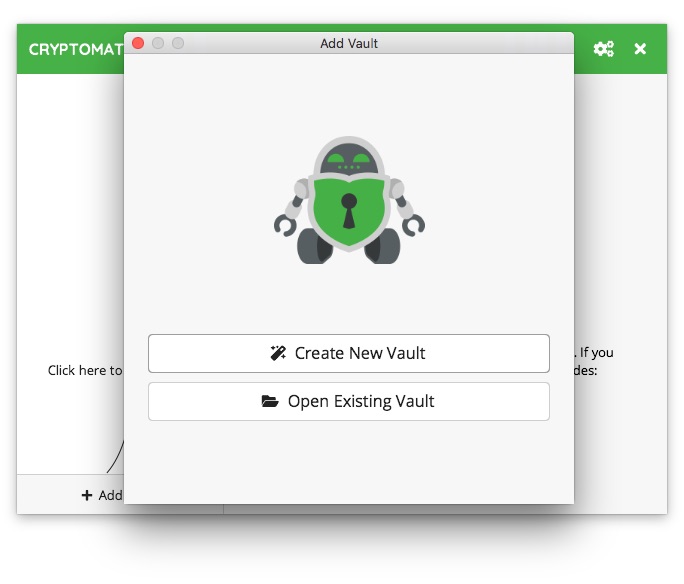
In the pop-up window, we have two options to choose from:
-
Create New Vault - creating a new container and this is the option we will use,
-
Open Existing Vault - opening (adding to this device, e.g. after reinstalling the application) a container that was previously created.
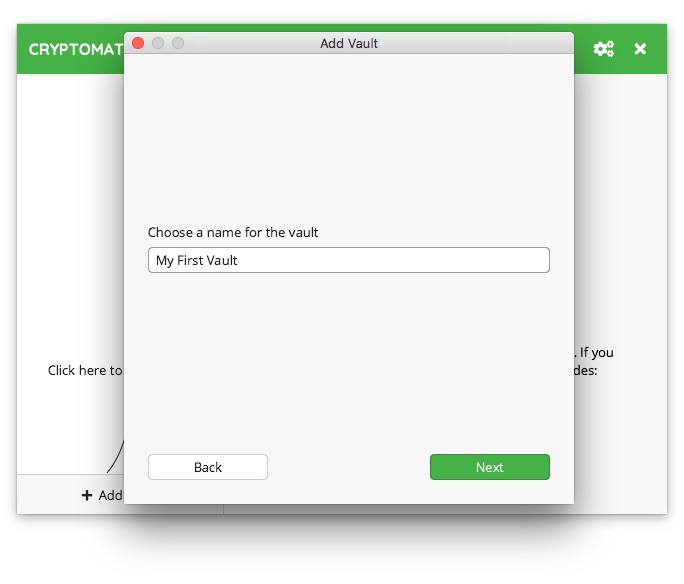
In the next window, we enter a working name for the container being created and proceed by clicking the Next button.
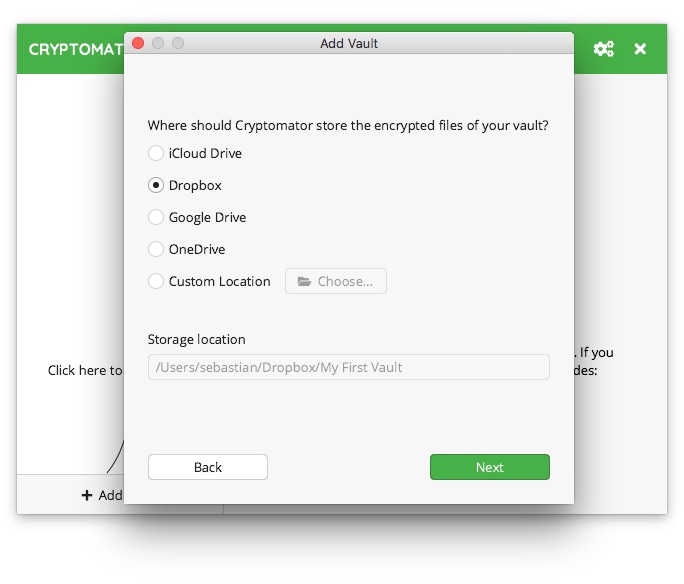
It’s time to indicate where this container should be located. As you can see in the screenshot below, we have immediately available options such as iCloud, Dropbox, Google Drive, or OneDrive. At the end, there is also an option to manually specify a location on the local disk, which can also be a shared folder with any other cloud service (e.g. our Nextcloud network drive). After correctly specifying the location, click the Next button.
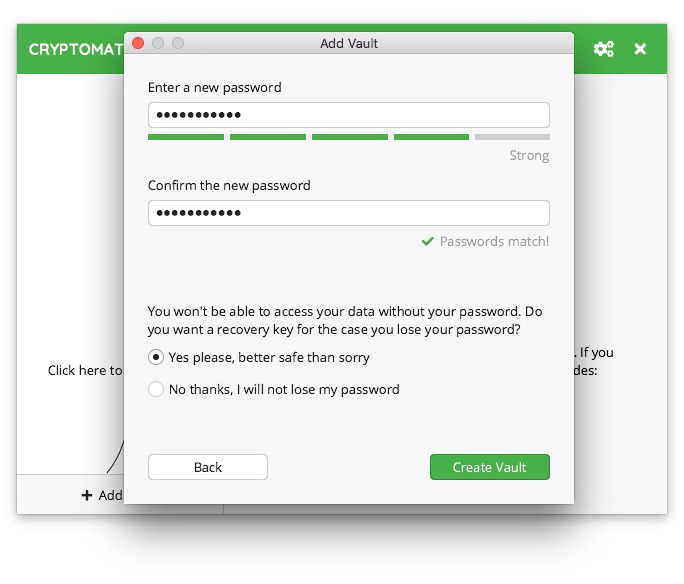
At this step, we set the most important aspect, which is the password. I think I don’t need to explain why it should be strong, i.e., consisting of as many characters as possible (preferably lowercase and uppercase letters, numbers, and special characters). After entering the chosen character string twice, we still have to decide whether we want a special recovery code to be generated, which can be used in case of forgetting the password. I recommend generating such code and keeping it in a safe place.
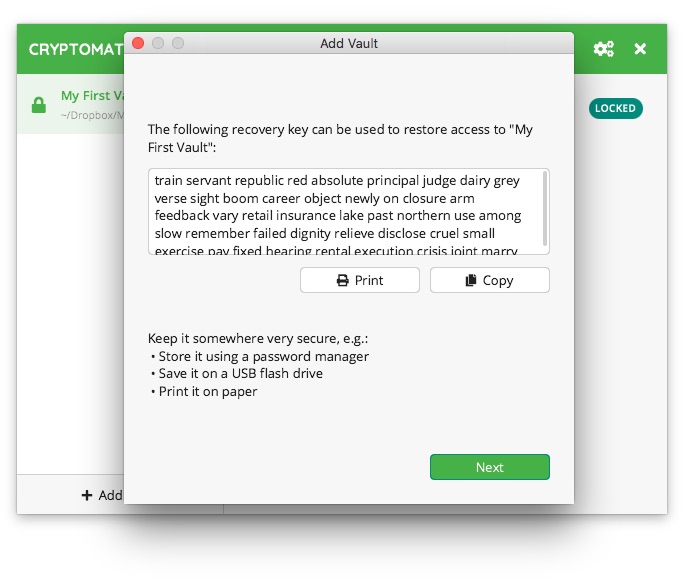
The Create Vault button completes the container creation process, but at the end, we will still receive a window with the generated recovery code, which should be kept safe.
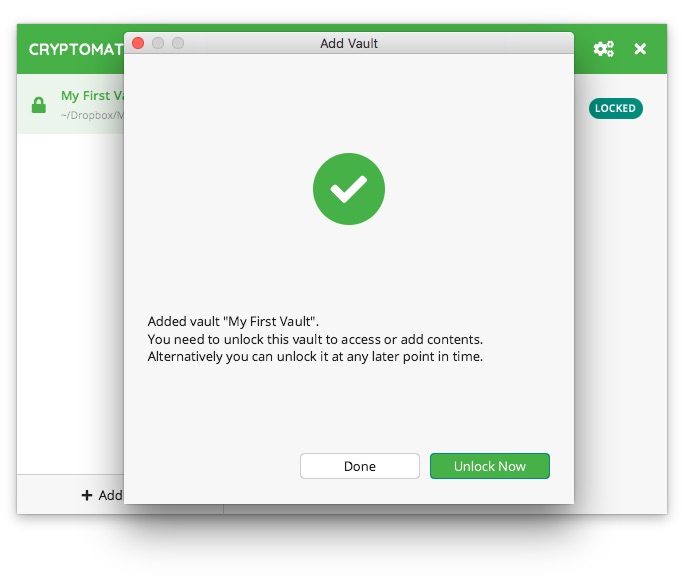
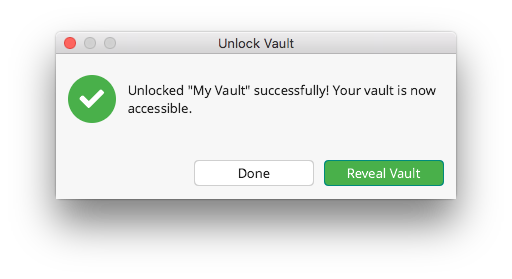
Done, the container has been created. We get a window informing us about this and the option to unlock it immediately (the Unlock Now button) or just proceed (the Done button). At this point, I suggest using the latter.
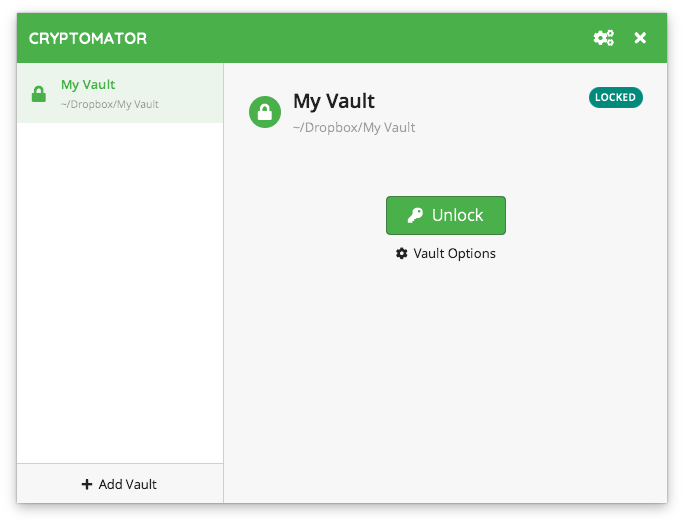
We return to the main Cryptomator window, where the new container is already listed. Let’s select it and go to its settings (Vault Options).
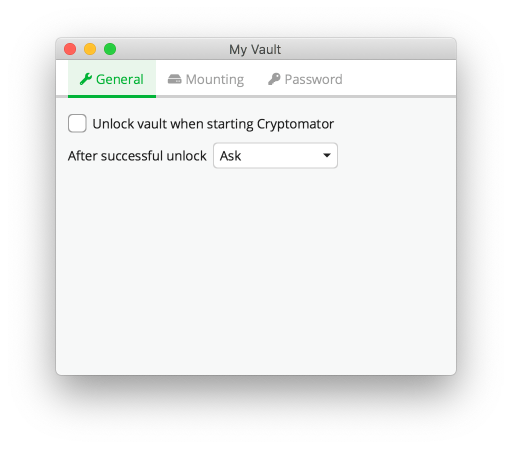
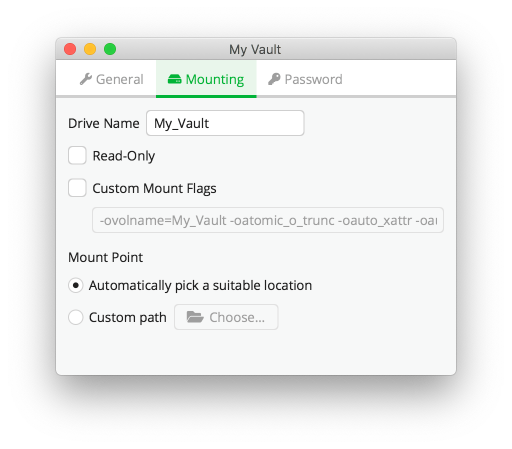
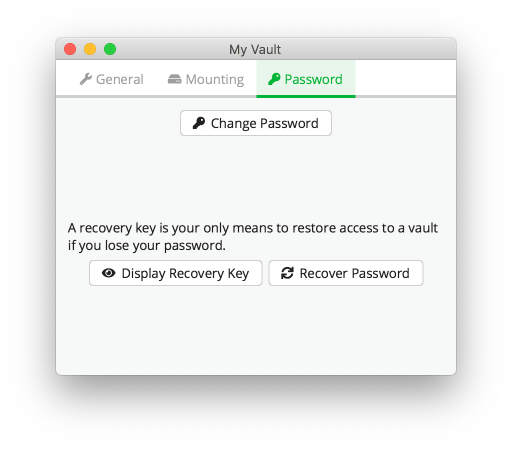
In the first General tab, we can enable the option to unlock the vault when the Cryptomator application starts, which I recommend for convenience. Then we have a choice of what should happen in such a case, whether it should be shown as a new file manager window, ask each time what to do, or simply be opened in the background and do nothing more. I always use the latter option. In the next Mounting tab, as the name suggests, we have settings related to mounting the container, i.e. the ability to change the name under which it should appear in our disk tree, whether it should be read-only (sometimes this is a useful feature), we don’t deal with flags because it’s a more advanced operation, and finally, we have the ability to edit the location where it should be mounted. The last tab is Password, where we can change the password and view existing or generate a new recovery code.
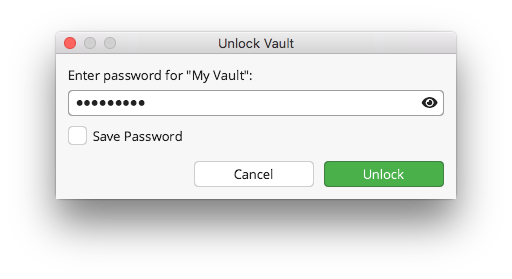
Let’s go back to the main window and this time click on the Unlock button. When you open it for the first time, you will be asked to enter a password, which you can save in the application memory by checking the Save Password option below. Everything depends on the usage, but if you want to have protection only from the outside and prioritize convenience on your own computer, then selecting this option is justified. With this configuration, you can set Cryptomator to start up with the operating system, and along with it, the vault will be unlocked and immediately connected as a network drive, without the user’s involvement, ready to be used.
Mobile devices
Cryptomator is also available as a mobile application. Instructions for installation and configuration are available for Android and iOS devices, following the same steps as above.
What it looks like from the cloud
As I mentioned before, from our device, the vault will appear as a normal network drive or even as a regular folder on our local drive, which synchronizes with a standard cloud solution. However, I believe it is also worth showing how the container files look like from the perspective of the cloud. For example, I took a screenshot from Dropbox.
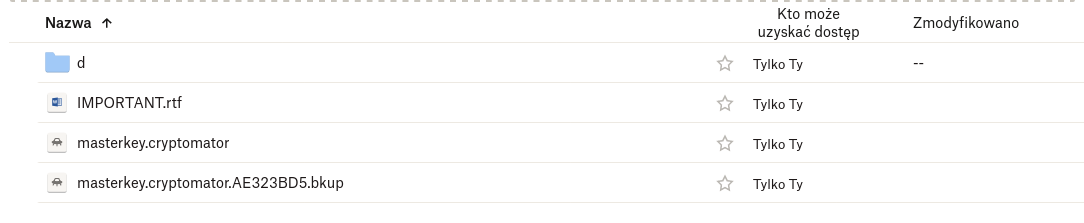
As you can see, the encrypted content stored on an external drive is actually a folder with many strangely named subfolders (unreadable), containing all the files saved inside the vault, an informational document in RTF format (short for Rich Text File, which is similar to a DOCX file), the encrypted masterkey.cryptomator key and its backup. That’s it. For someone who doesn’t have Cryptomator and the password to decrypt it, these files seem like complete gibberish, and that’s the point of it all.


