🇬🇧->🇵🇱 Przejdź do polskiej wersji tego wpisu / Go to polish version of this post
In previous posts from the smart home series, I described how to set up smart lighting in your home using Shelly products and how to set up your own server with Home Assistant to manage home IoT devices. This way, we created the possibility of fully remote control of the lighting in our home. But is it really “fully remote” control? Not exactly, because the server operates only within the local network. So when we leave home and lose Wi-Fi connection on our phone, we completely lose the ability to control anything. It is necessary to enable access to the server from outside. There is a service called Home Assistant Cloud, also known as Nabu Casa, but it is a subscription service, which (in my opinion, unnecessarily) only burdens our wallet. An ideal alternative would be to set up a VPN tunnel (Wireguard, OpenVPN, …) on router, which serves as the gateway to our home network. This would allow us to securely connect from the outside to our home network using a mobile device. However, to run such a service, a public IP address is required. This refers to an address that directly routes network traffic to our entry router. This should not be confused with a static IP address, which many internet service providers offer for an additional monthly fee (usually around 10 PLN). A public address can be dynamic, as this can be easily managed using any (there are many free) Dynamic DNS solutions such as NoIP.com or DuckDNS.org. So, it doesn’t matter whether the address is dynamic or static, what matters is that it is public. I mention this because obtaining a public IP address is very difficult or even impossible when using wireless internet. Providers like T-Mobile, Plus, Play, Orange, and others have rather complex infrastructures that resemble a large tree with branches splitting into smaller subnets. This means that we cannot simply open a port on the router and, using the IP address (which we can check on sites like WhatIsMyIP.com), access the service hosted on that port from the local network. Let me demonstrate this with my own example. My wireless internet provider is T-Mobile. Let’s check what my IP address looks like from the outside.
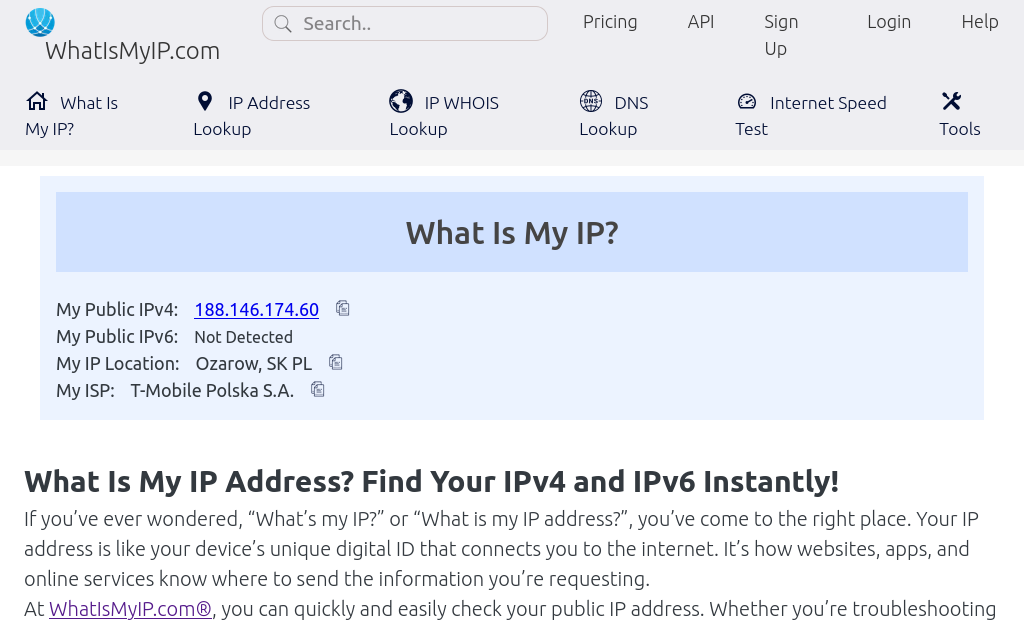
Now, let’s see what information I can find on my router.
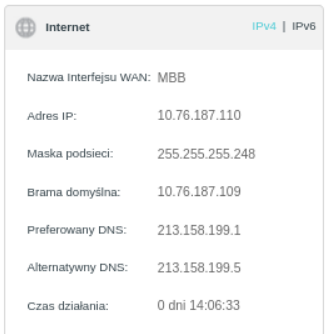
The address 188.146.174.60 does not match 10.76.187.110, does it? This is because the latter is my internal network address, or perhaps even within a subnet of T-Mobile. Therefore, for external traffic to reach my device, it must first be directed to 188.146.174.60, then pass through an unknown number of routers/switches inside T-Mobile’s infrastructure, and finally, at the very end, reach 10.76.187.110. This address is essentially my unique identifier, known only to T-Mobile and me, and is handled by one of these internal routers, which acts as a DHCP server.
The lack of a public IP address is a problem that most often affects owners of newly built houses that were built on plots without fiber-optic infrastructure. In the best case, a fiber-optic network is located on a neighboring property, and in the worst case, it may not be available for several kilometers. Regardless, getting connected to the network usually involves a long wait and a lot of effort. That’s why many people, including myself, simply opt for wireless internet as a temporary solution until fiber is installed.
However, no problem is unsolvable, and after this slightly lengthy introduction, I will now explain how to access your home network from outside when you do not have a public IP address, meaning you cannot simply set up a traditional VPN. To do this, I will use the free service ZeroTier.
Creating an account
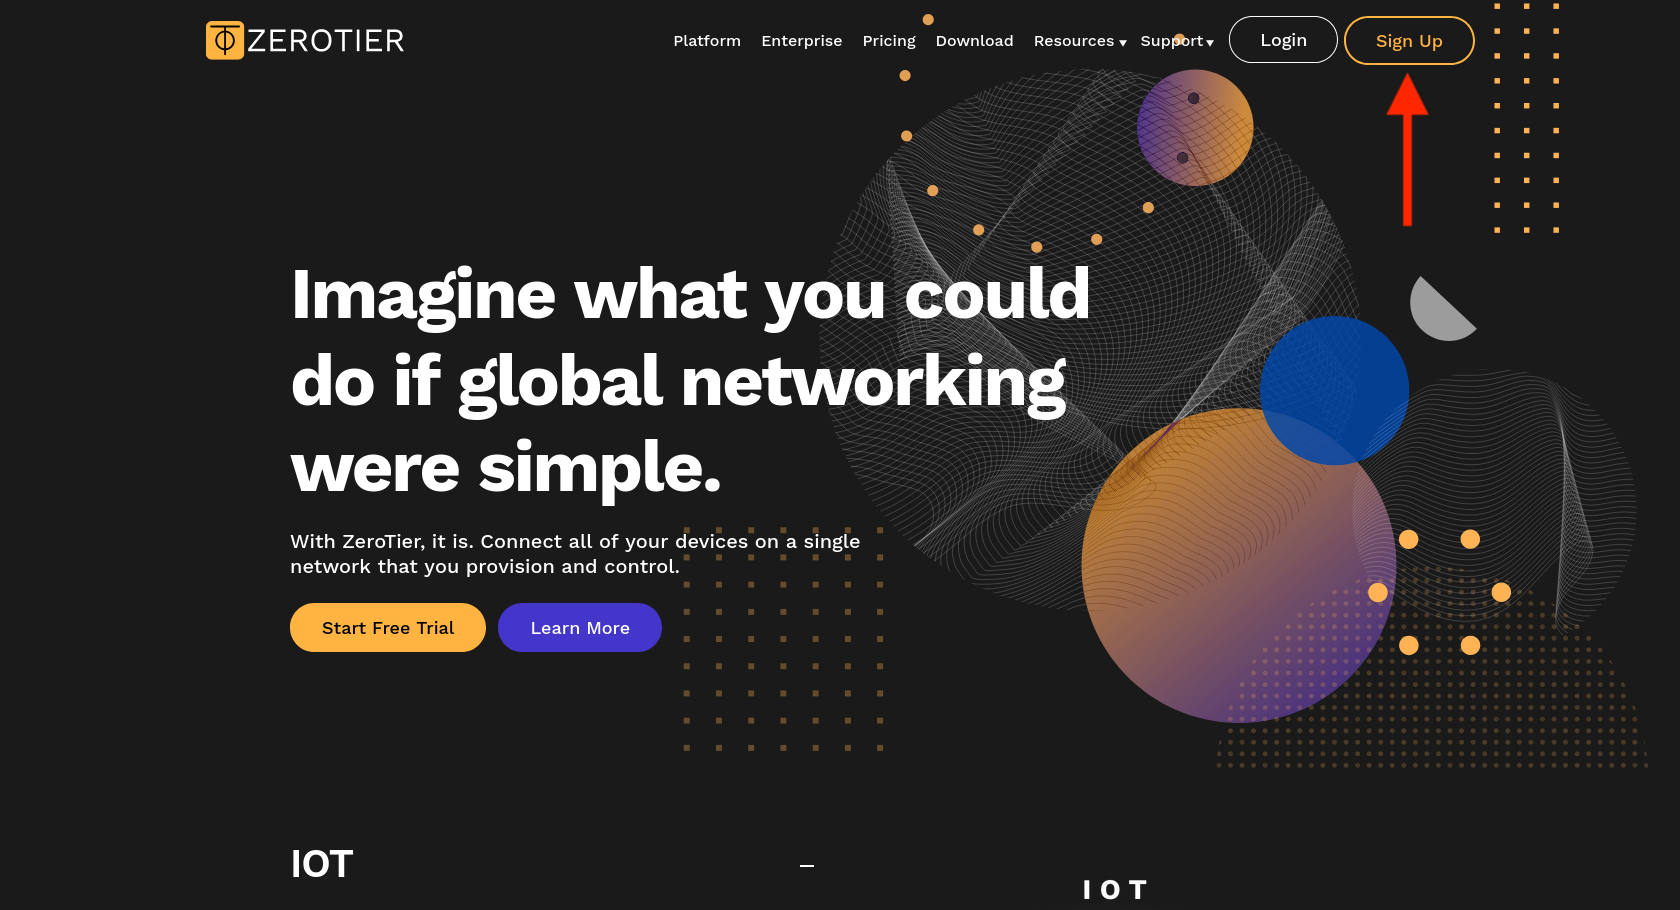
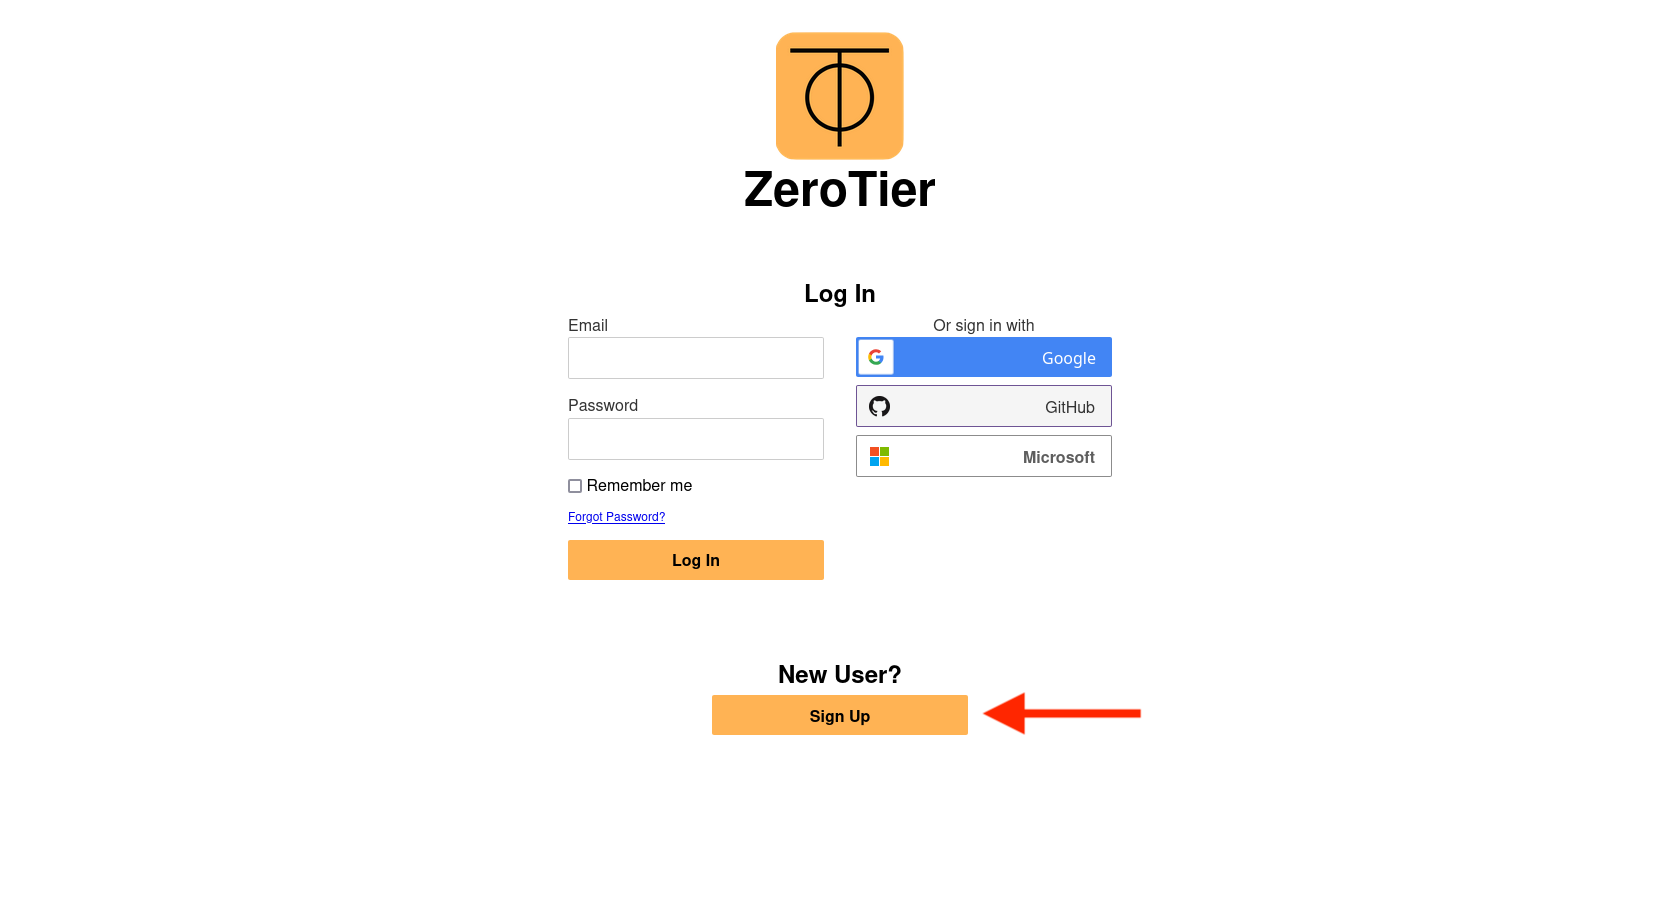
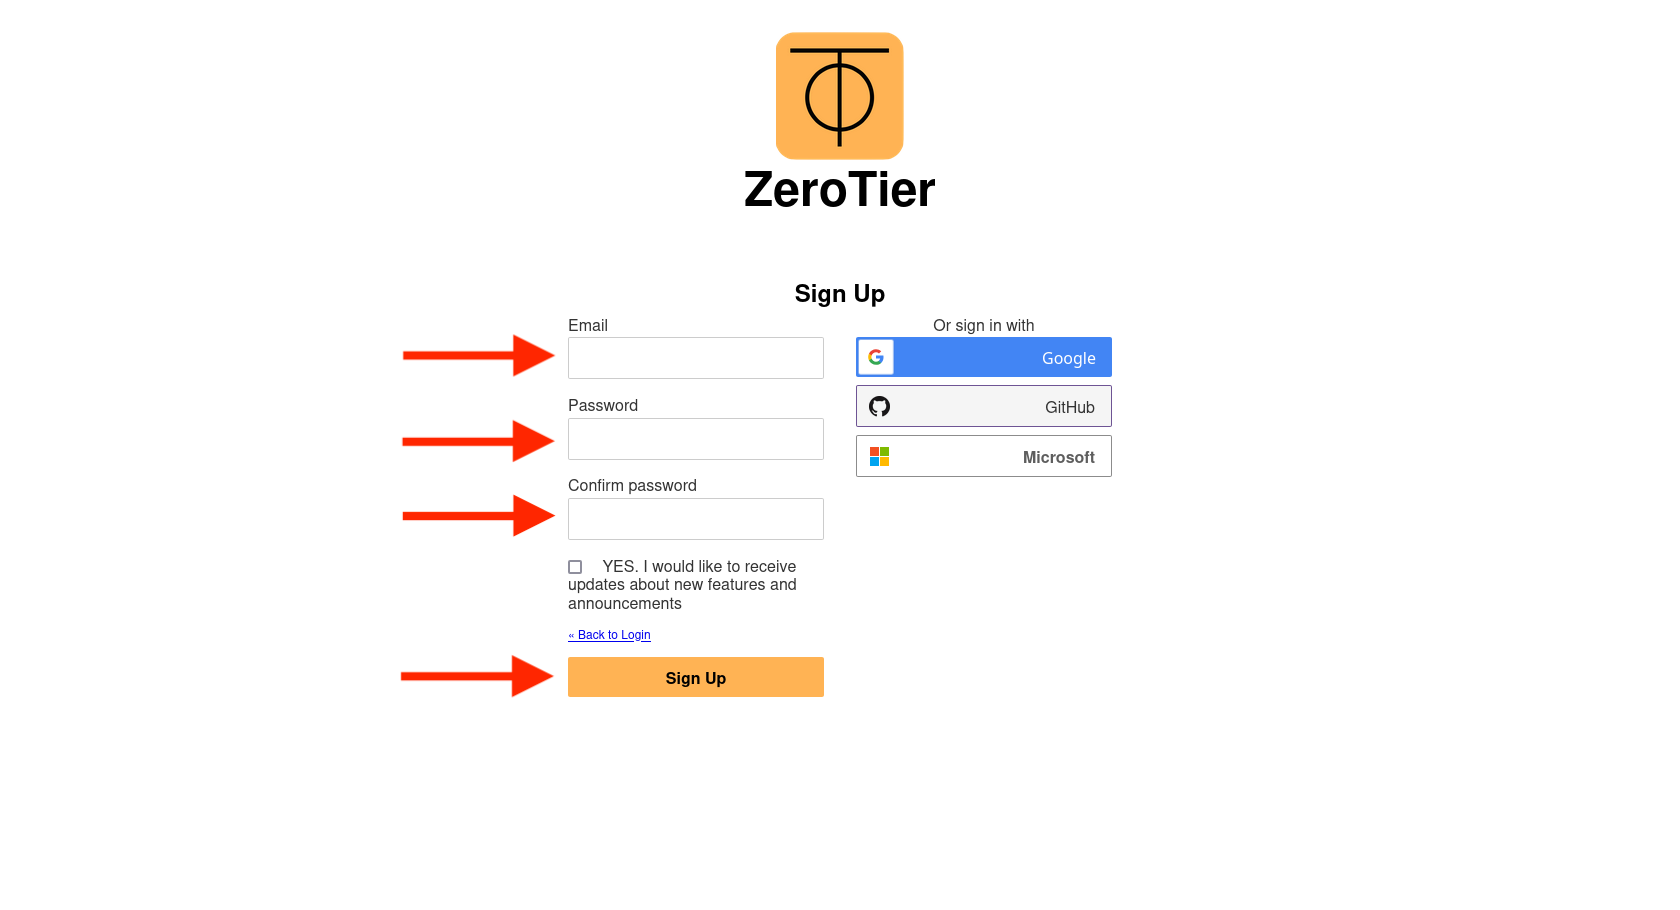
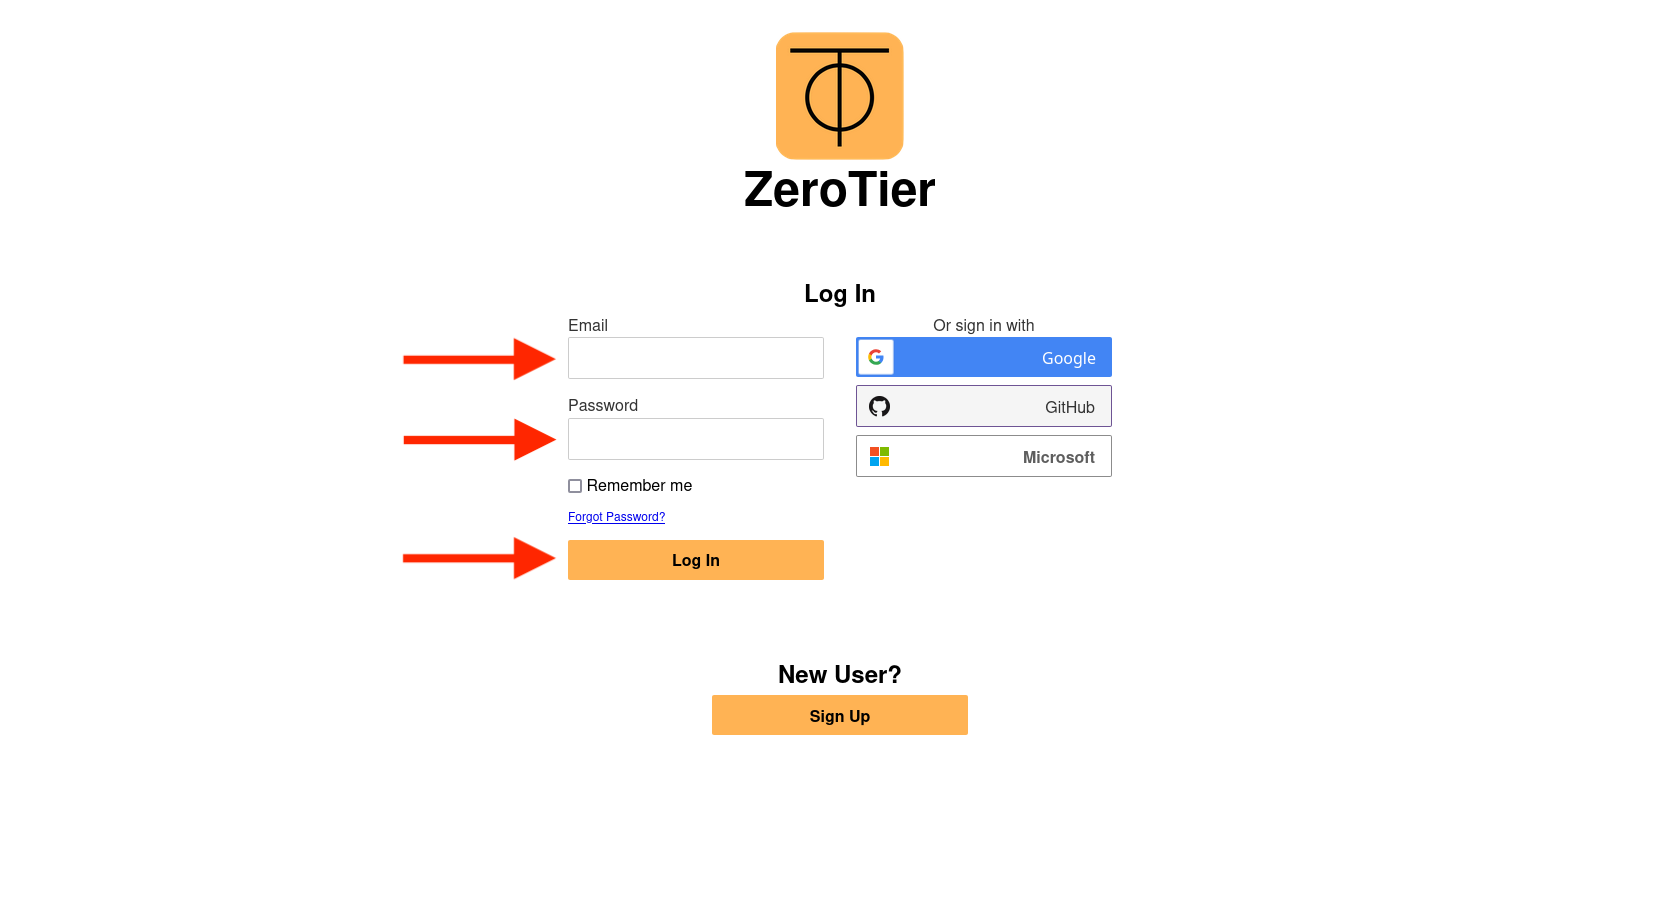
Go to zerotier.com and find the Sign Up button in the top right corner. You will be redirected to the login page, but skip the Log In section because we are here to create a new account. Below, you will find the Sign Up button. In the form, enter your email address, type your password twice, and confirm by clicking Sign Up. Check your email inbox, where you should already have a message with a confirmation link—click on it. Now you can log in to your newly created account using the credentials you just set.
Creating a virtual network
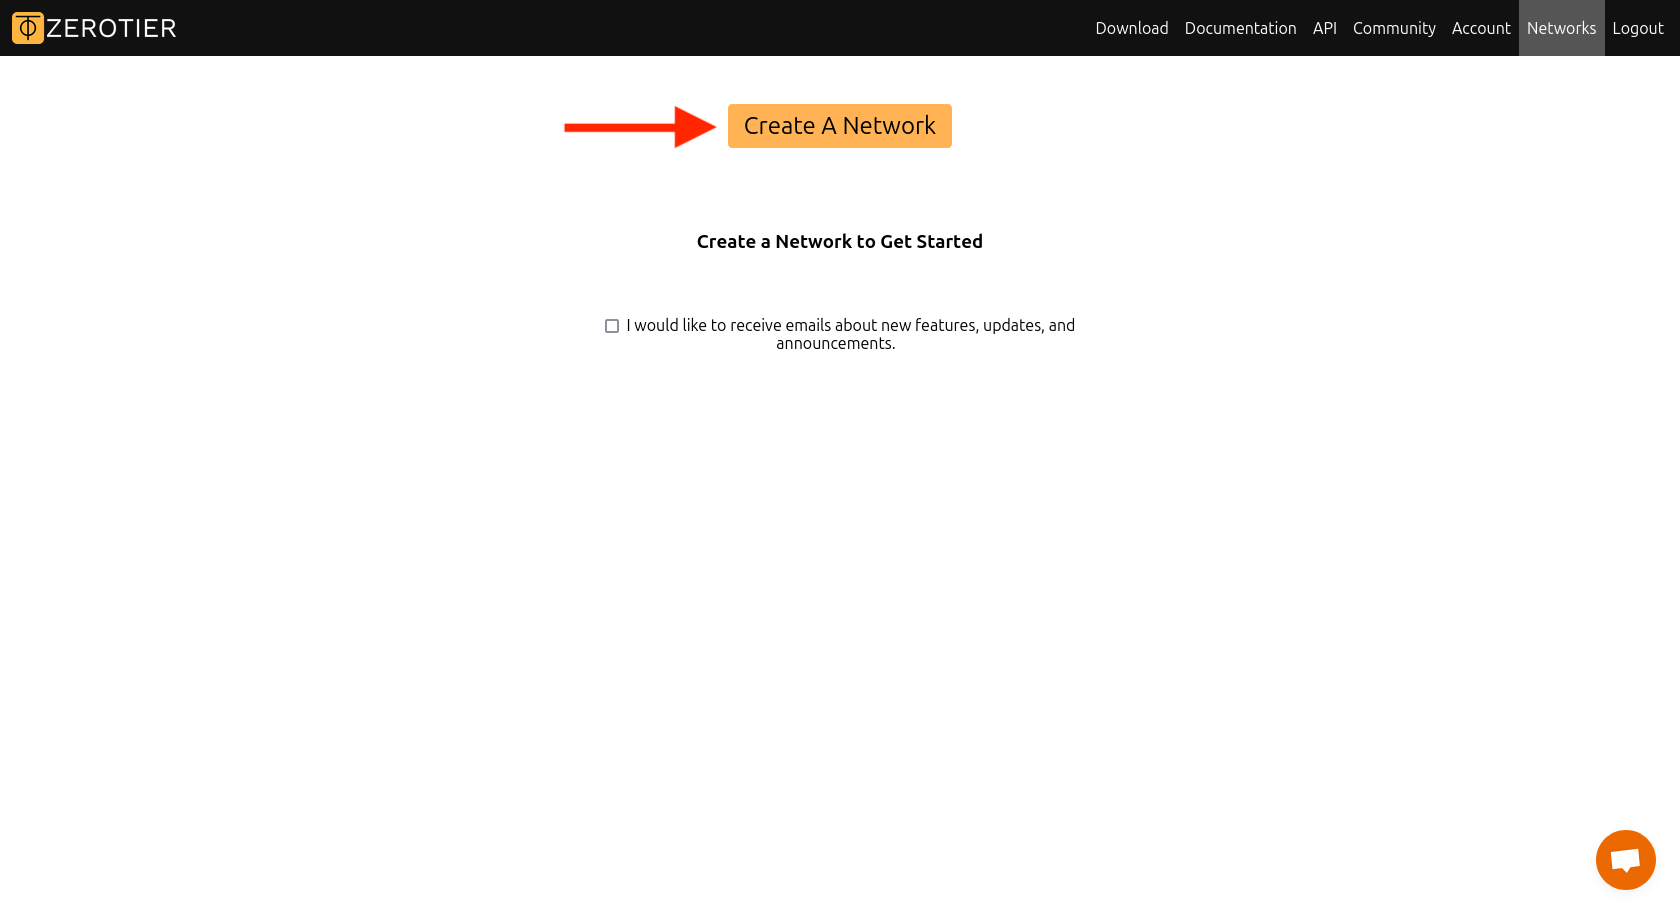
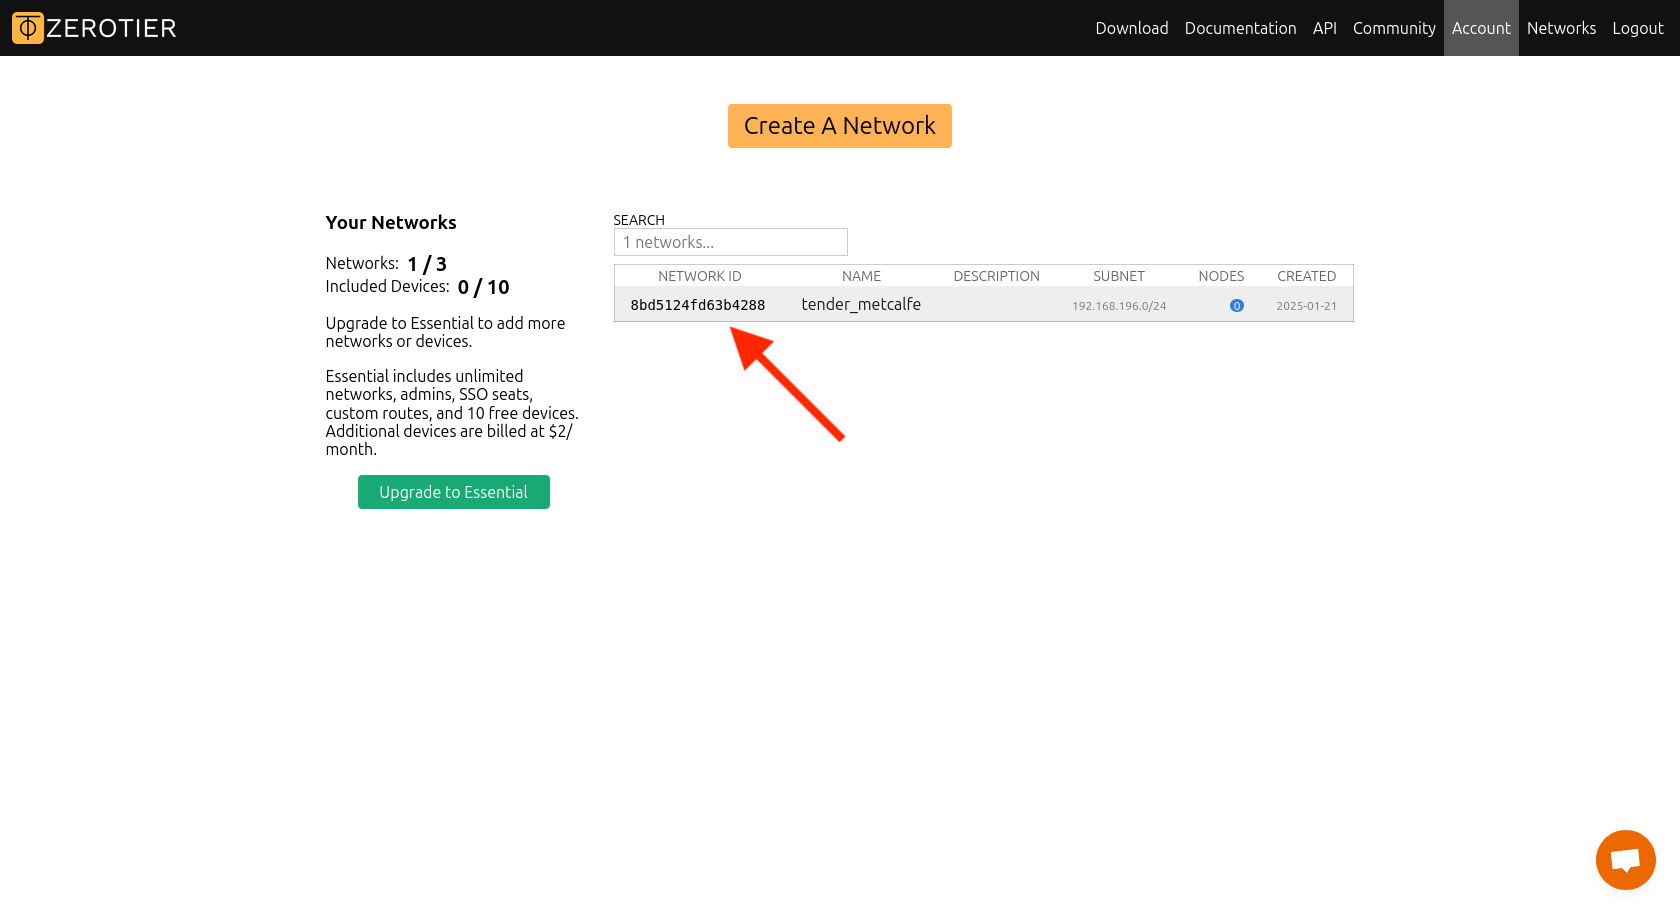
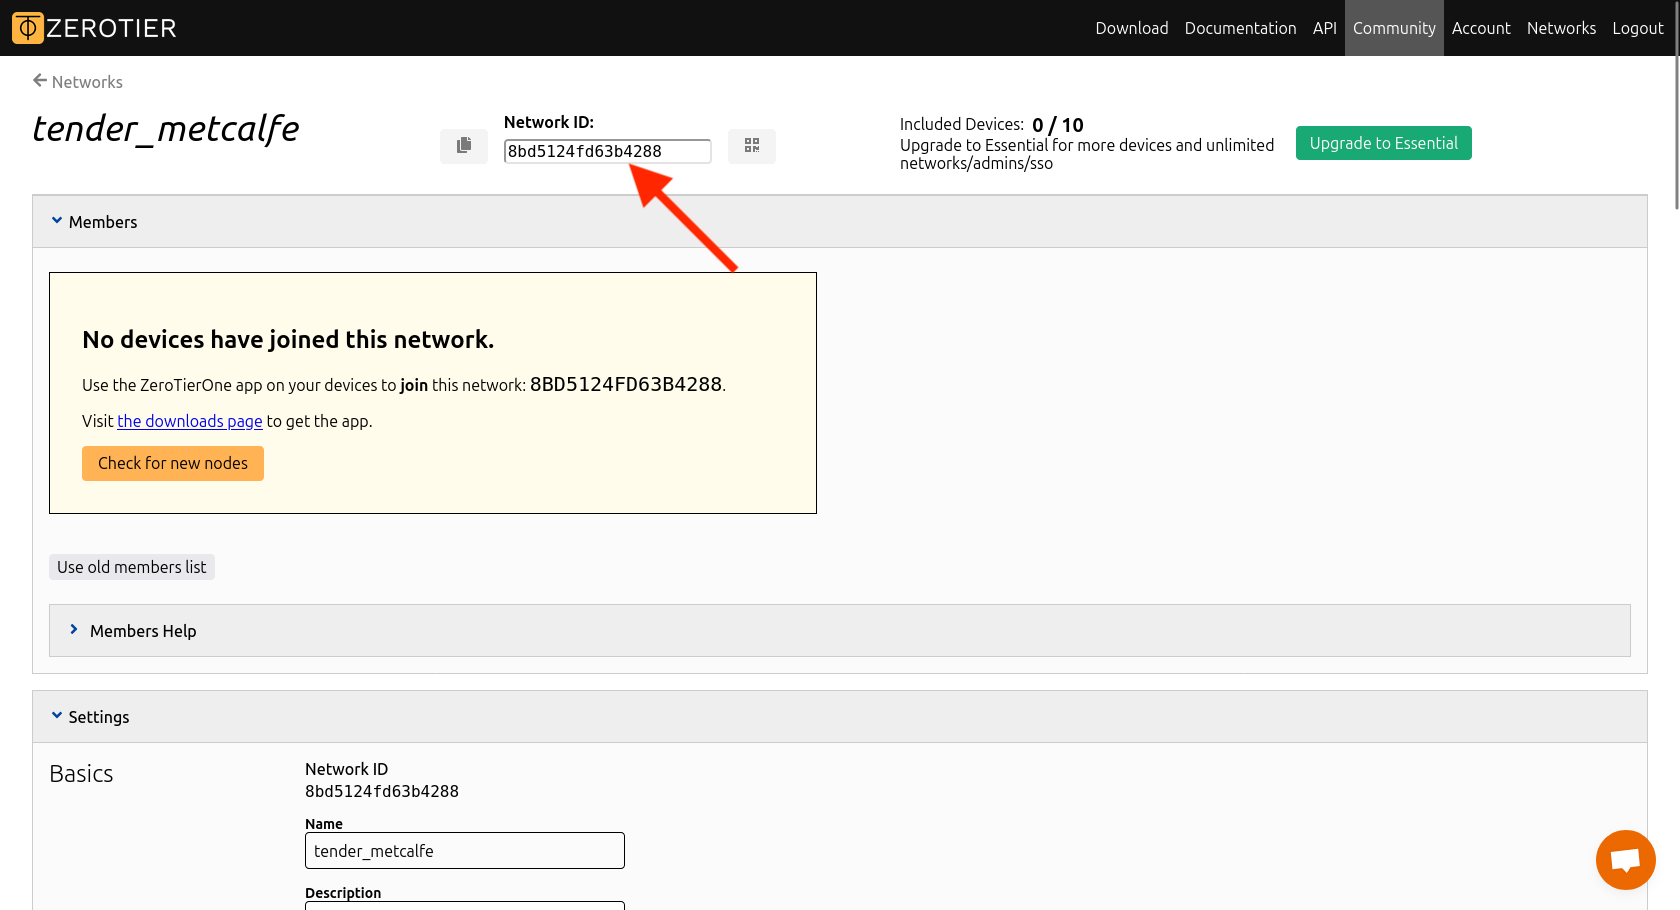
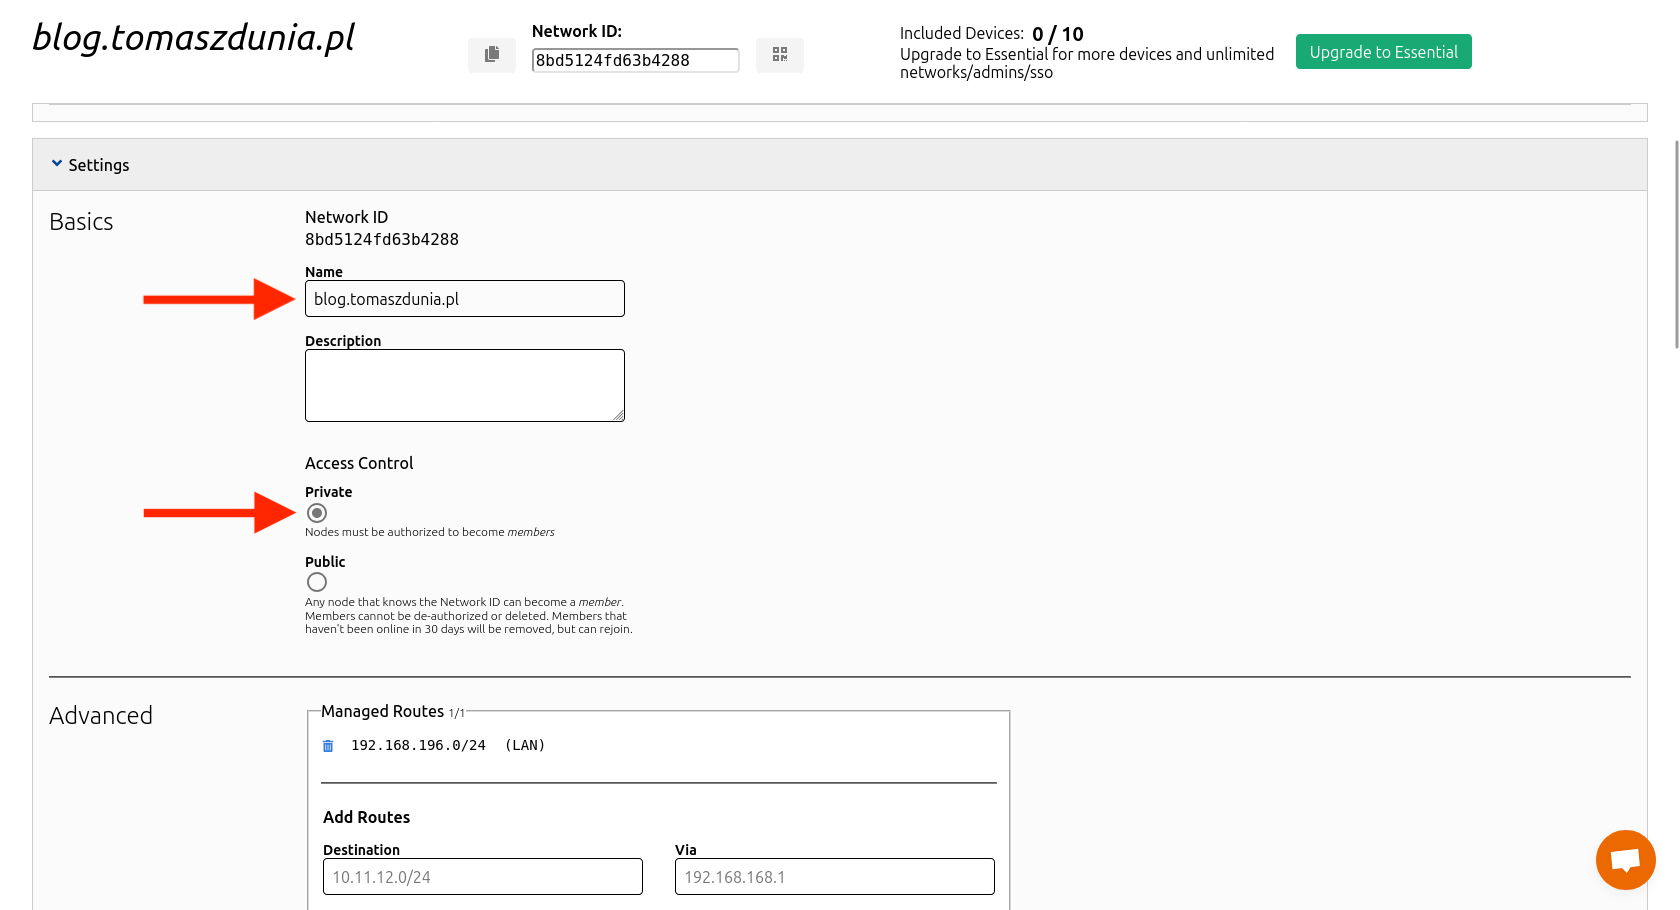
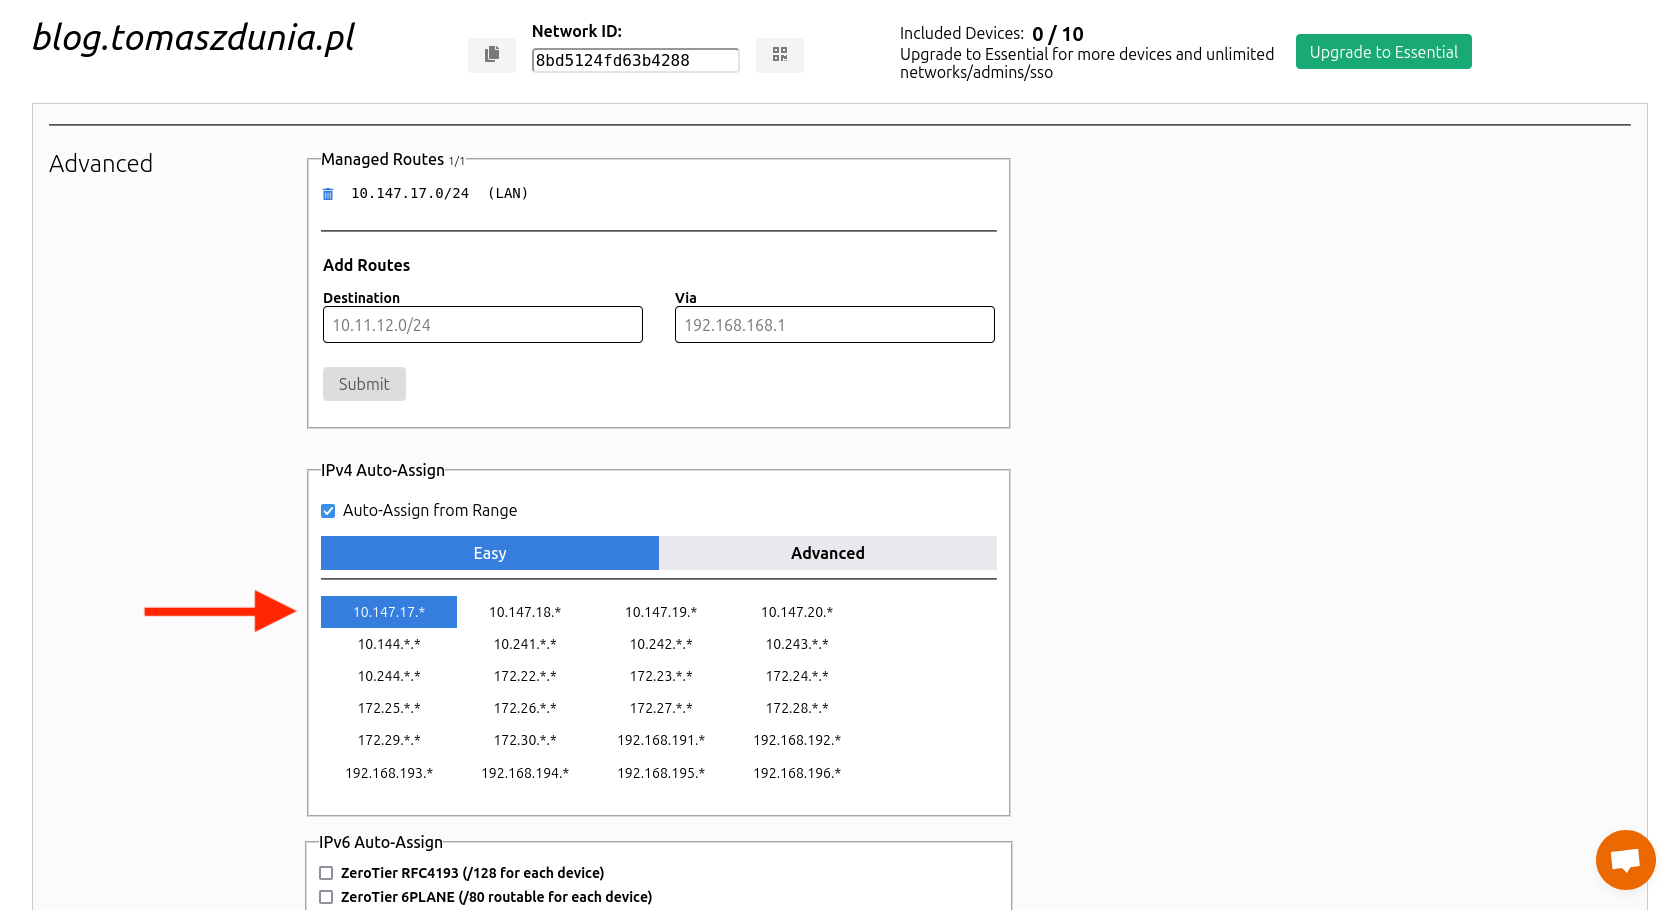
After logging in, you will see an interface with just one button: Create A Network. It must be said that ZeroTier‘s design is not extravagant. I appreciate this simple look without distractions—an ideal example of prioritizing functionality over aesthetics. Click the button, and just like that, a template for your new virtual network is created. Select it from the list to enter its settings. At the top, in the text field labeled Network ID, you will find the network identifier, which you will need later, so make sure to save it somewhere. In my case, it is 8bd5124fd63b4288. Before you ask—this network was created solely for this tutorial and was deleted after making this guide, so no need to attempt any attacks 🙃. Scroll down to the Name field to assign your own name to the network. Also, make sure that in the Access Control section, you have Private selected. This setting ensures that every device attempting to connect must be authorized. Enabling the Public option would mean that knowing the Network ID alone would be enough to connect. This would be extremely dangerous for what we plan to use ZeroTier for—allowing external traffic into our home network. The last thing to configure is the internal addressing within the virtual network. It is crucial that it does not match your home DHCP server’s address range. For example, if my main router at home is set to use the local network range 192.168.1.0 – 192.168.1.254, I should not set 192.168.1.* for the virtual ZeroTier network, as it would cause a conflict. In this case, you can choose an address range starting with 10, such as 10.147.17.*, to ensure there are no issues.
Configuration on the Home Assistant side
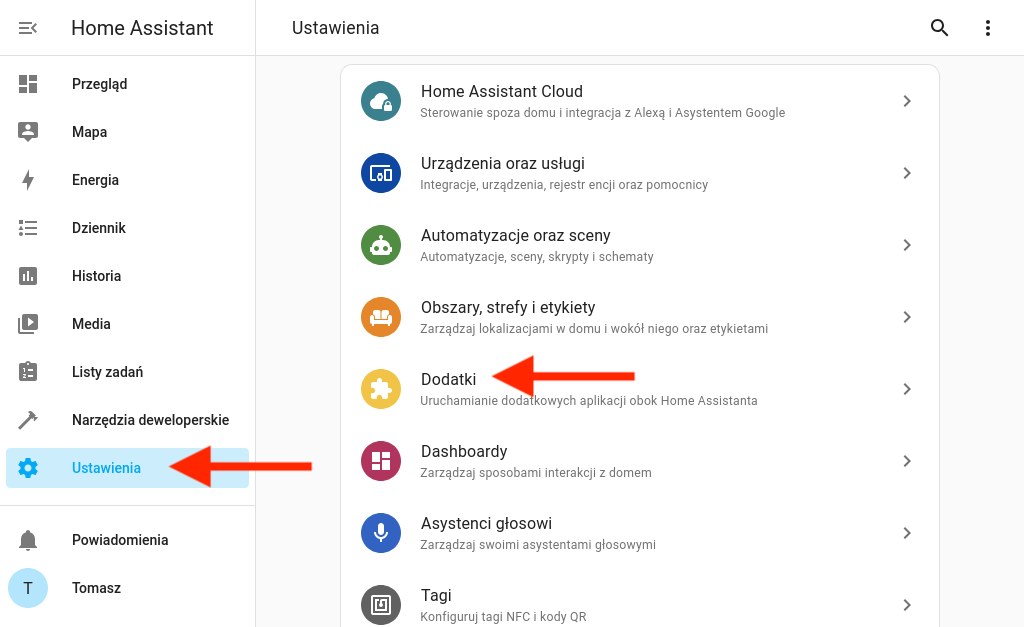
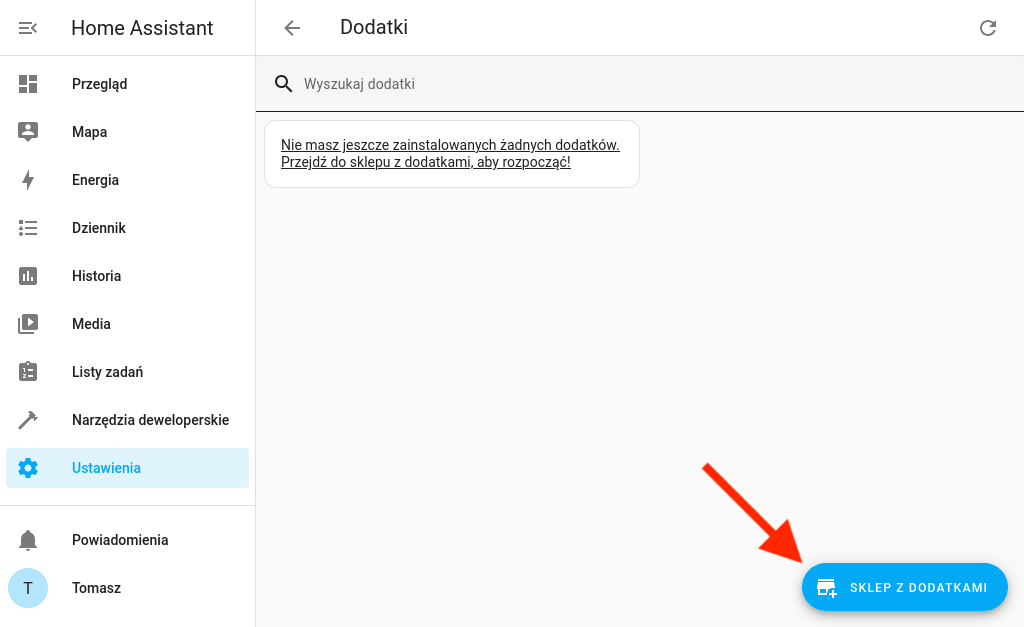
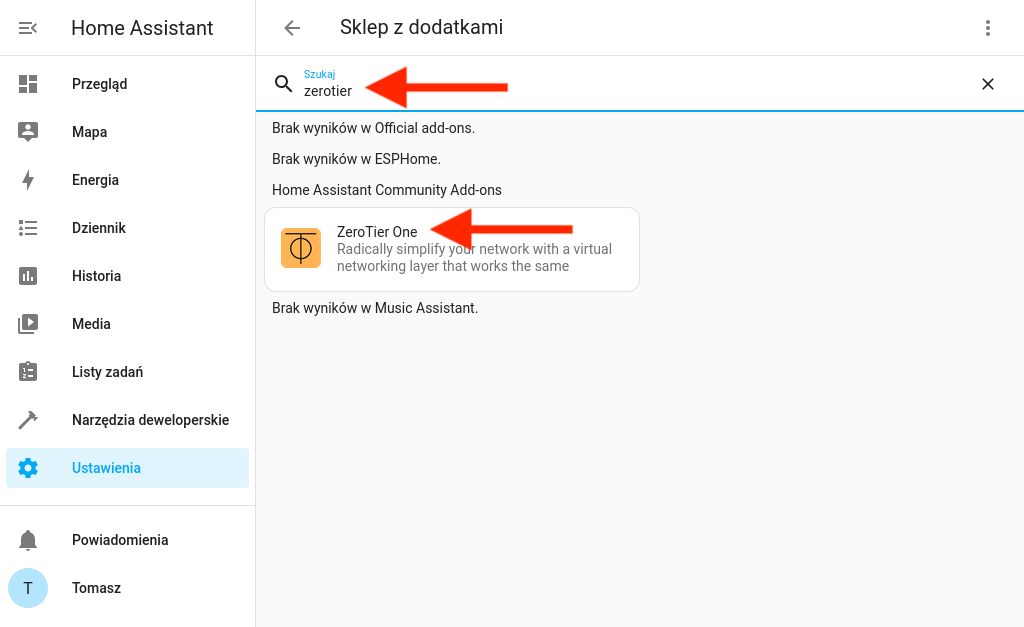
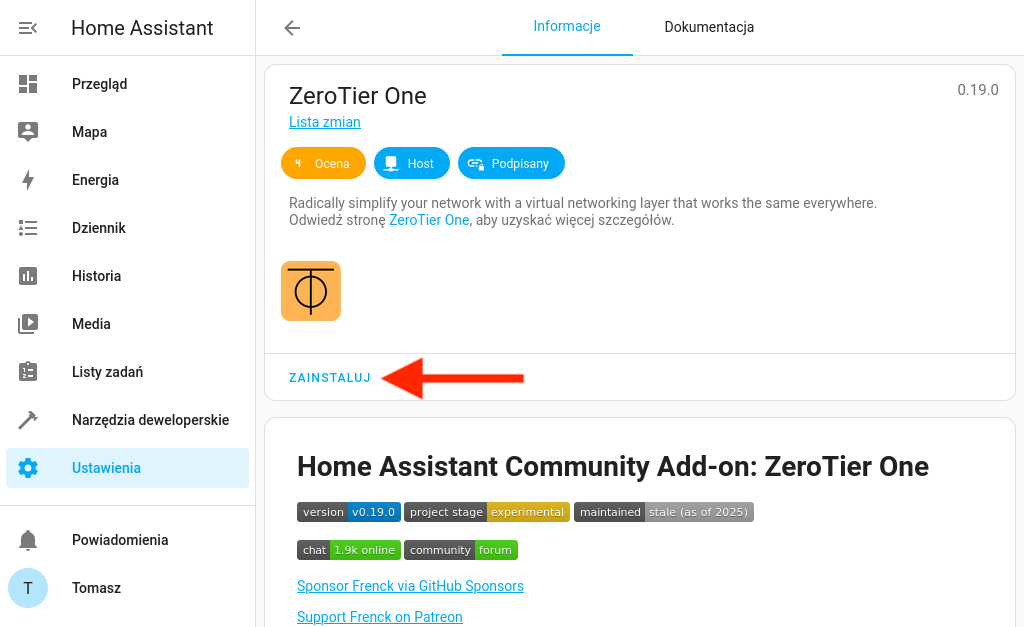
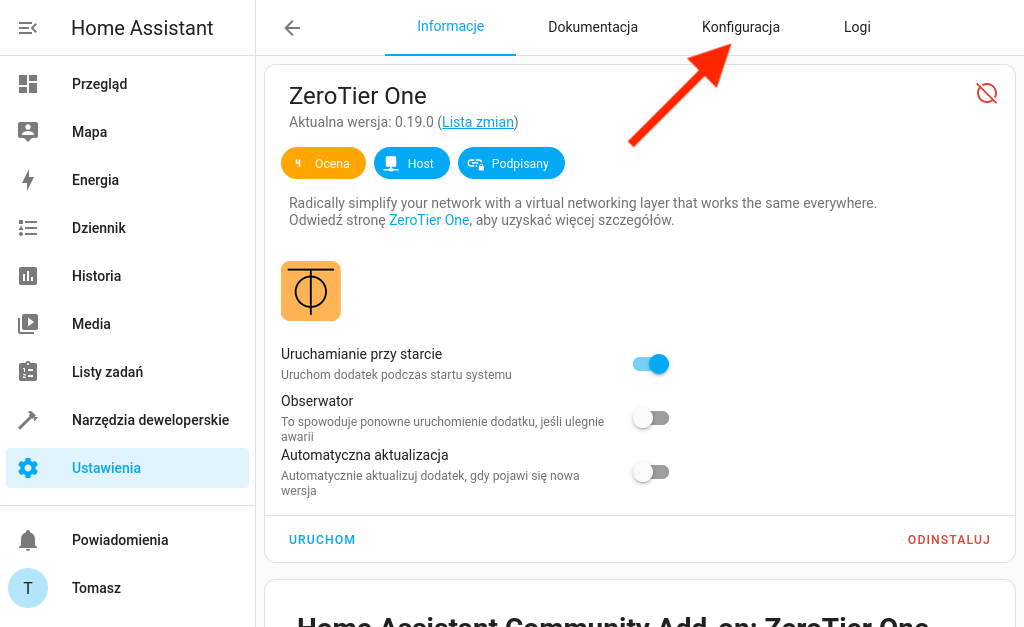
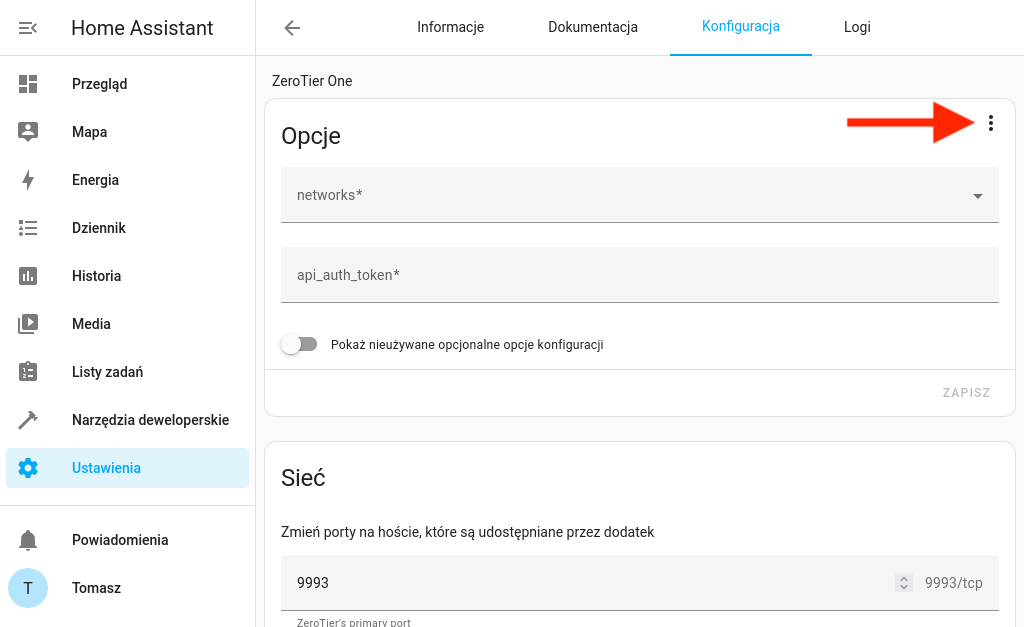
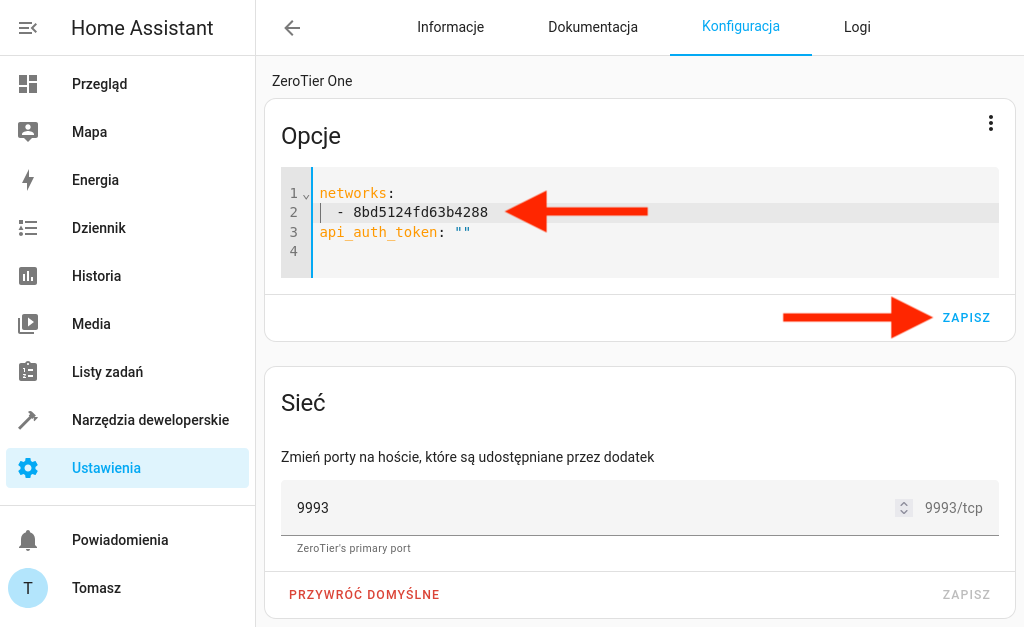
At this point, we have completed everything on the ZeroTier interface side, so it’s time to move on to the Home Assistant system. Go to Settings -> Add-ons. Then, click the Add-on Store button. In the search bar, type “zerotier,” and you should see only one result—”ZeroTier One.” Install the add-on by clicking the Install button. Once the installation is complete, go to the Configuration tab. In the Options section, click the three dots in the upper right corner and select Edit in YAML mode. This step is optional, but it’s my preferred method. A code editor will appear, where you need to enter the following content:
networks:
  - 8bd5124fd63b4288
api_auth_token: ""
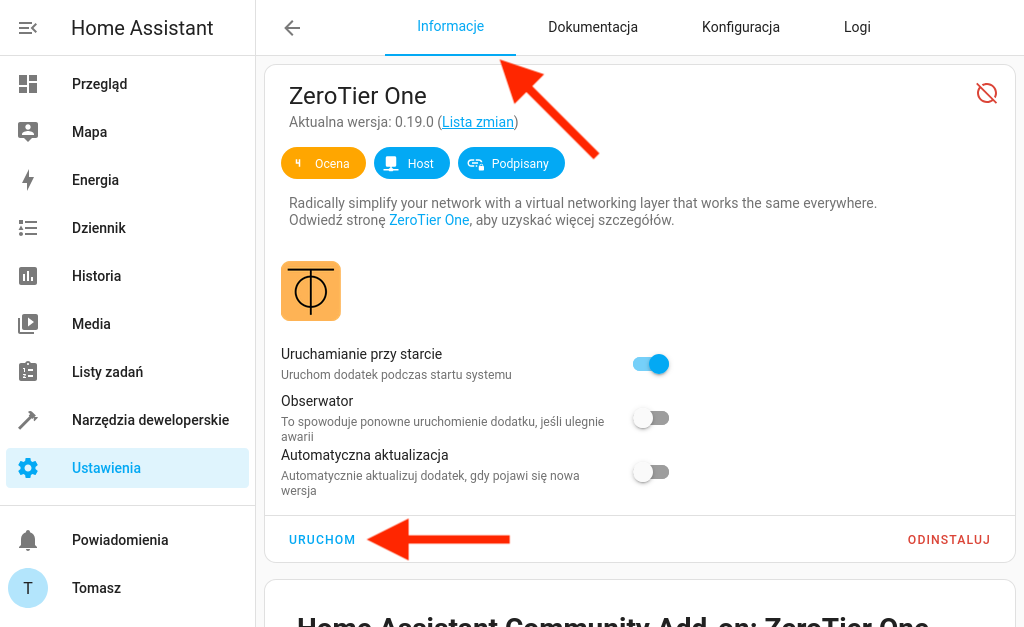
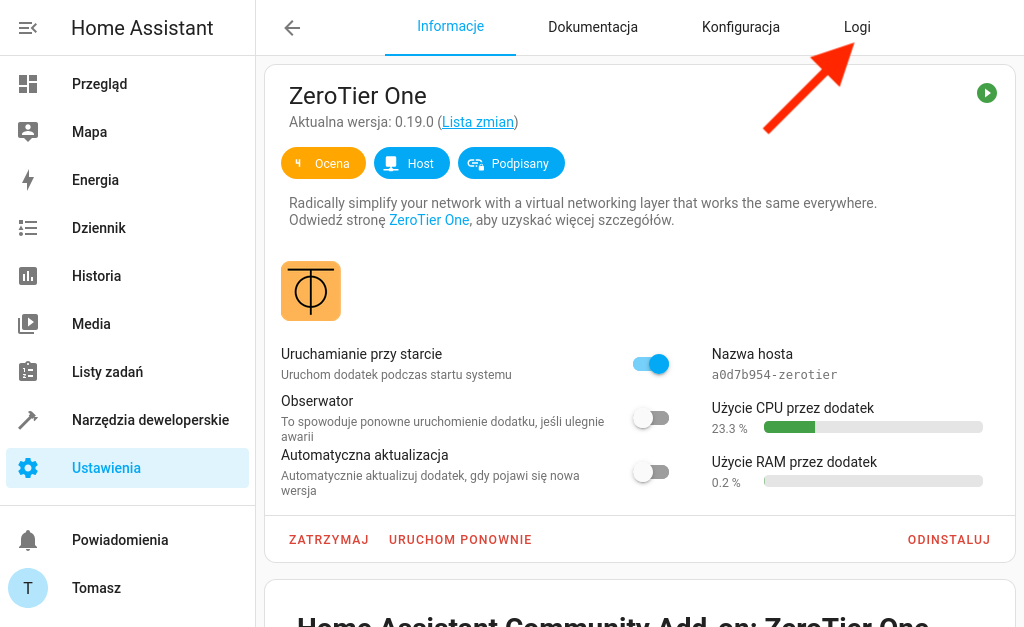
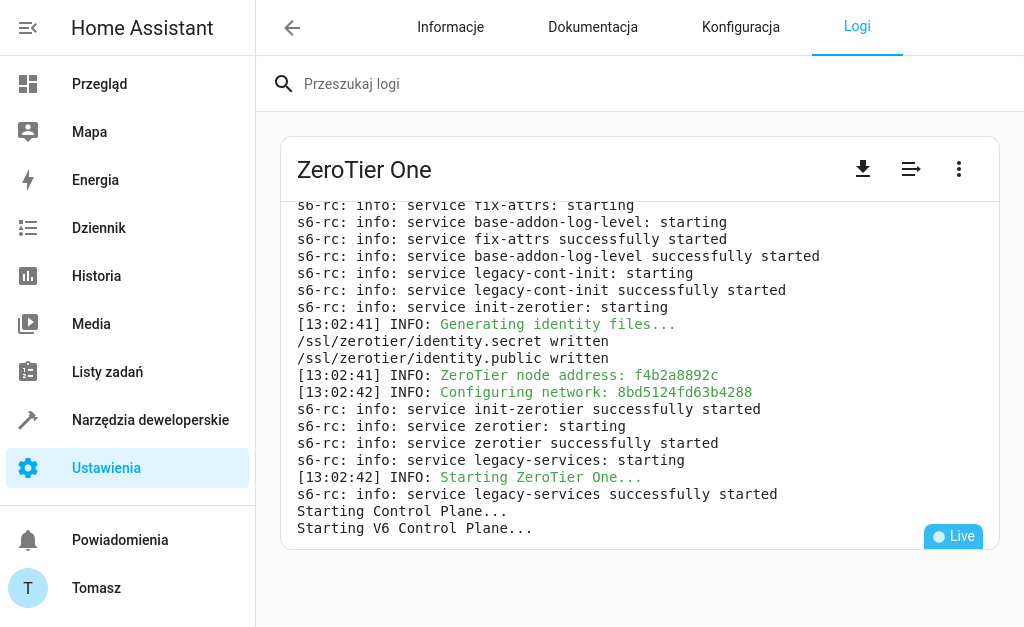
This is the moment when we need the previously saved virtual network ID from ZeroTier. After entering the correct value, save the changes by clicking the Save button. Then, go back to the Info tab and click Start. The add-on should start correctly, but to be sure, you can check the Logs tab to see if there are any error messages. Don’t worry if most of the log entries seem unreadable—just make sure there are no red warnings or the word “error” appearing.
Home Assistant server authorization
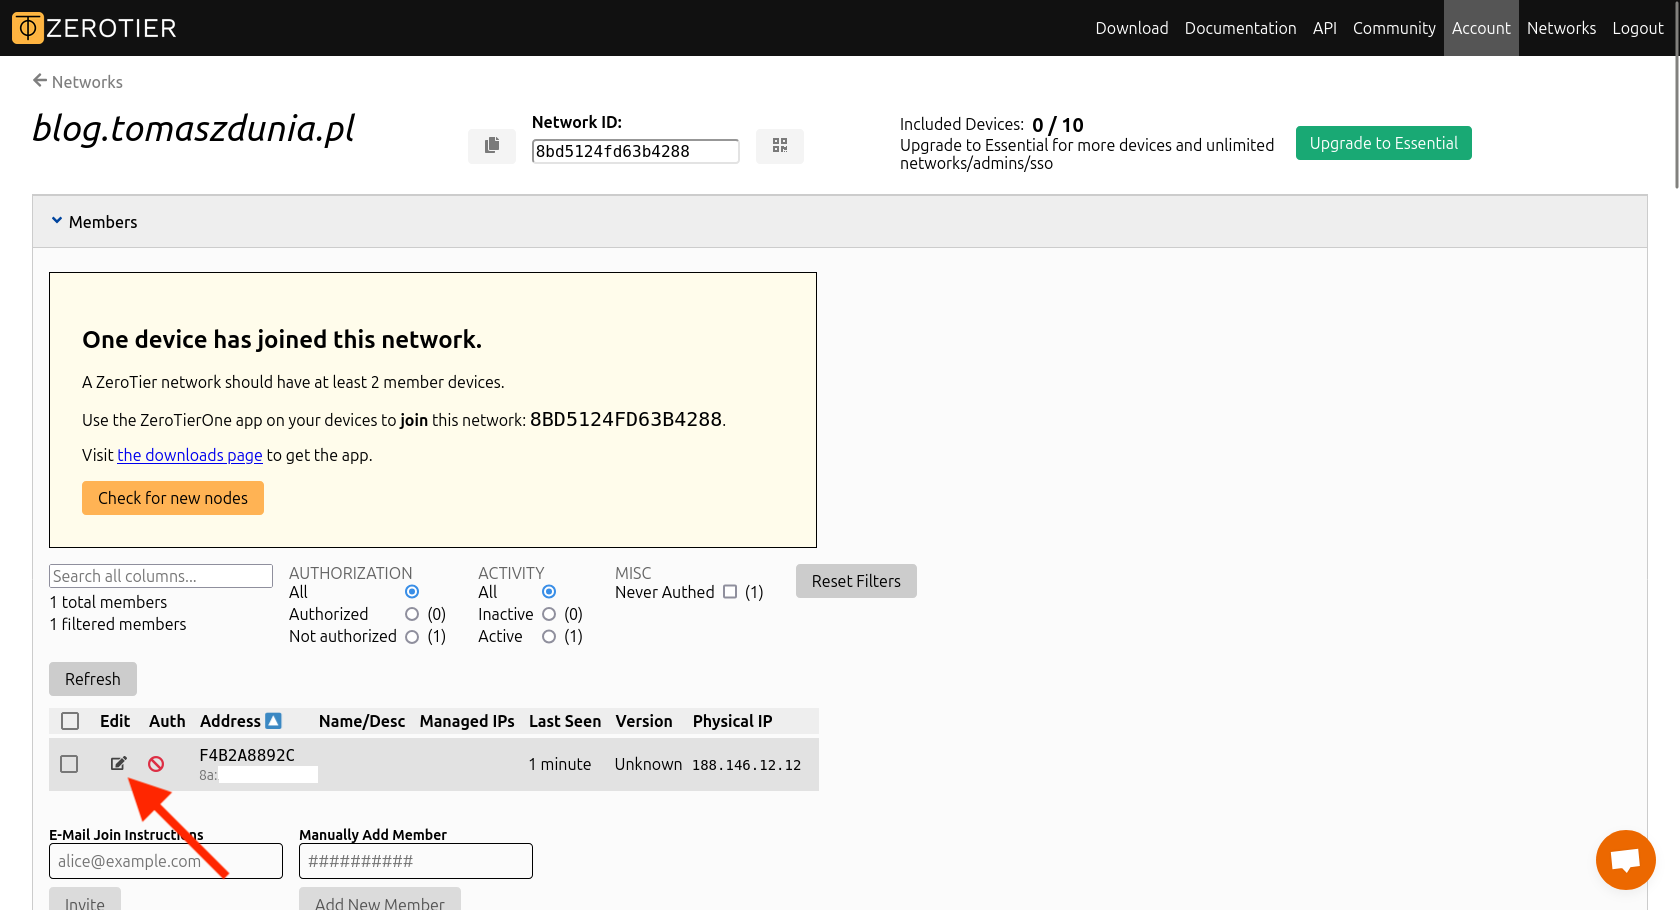
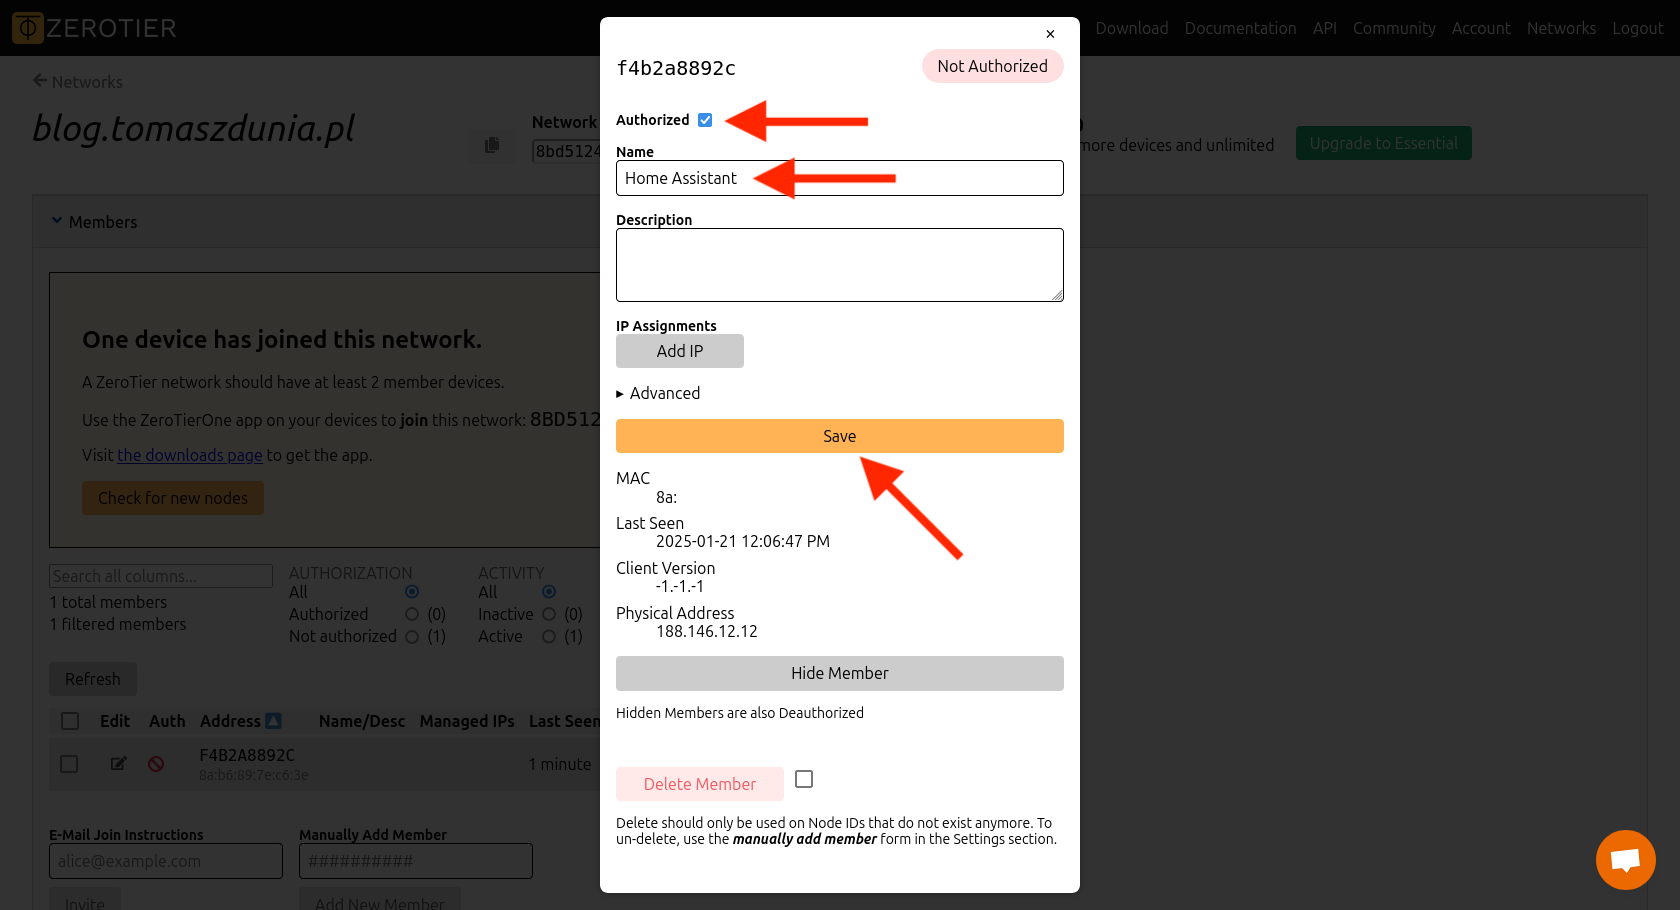
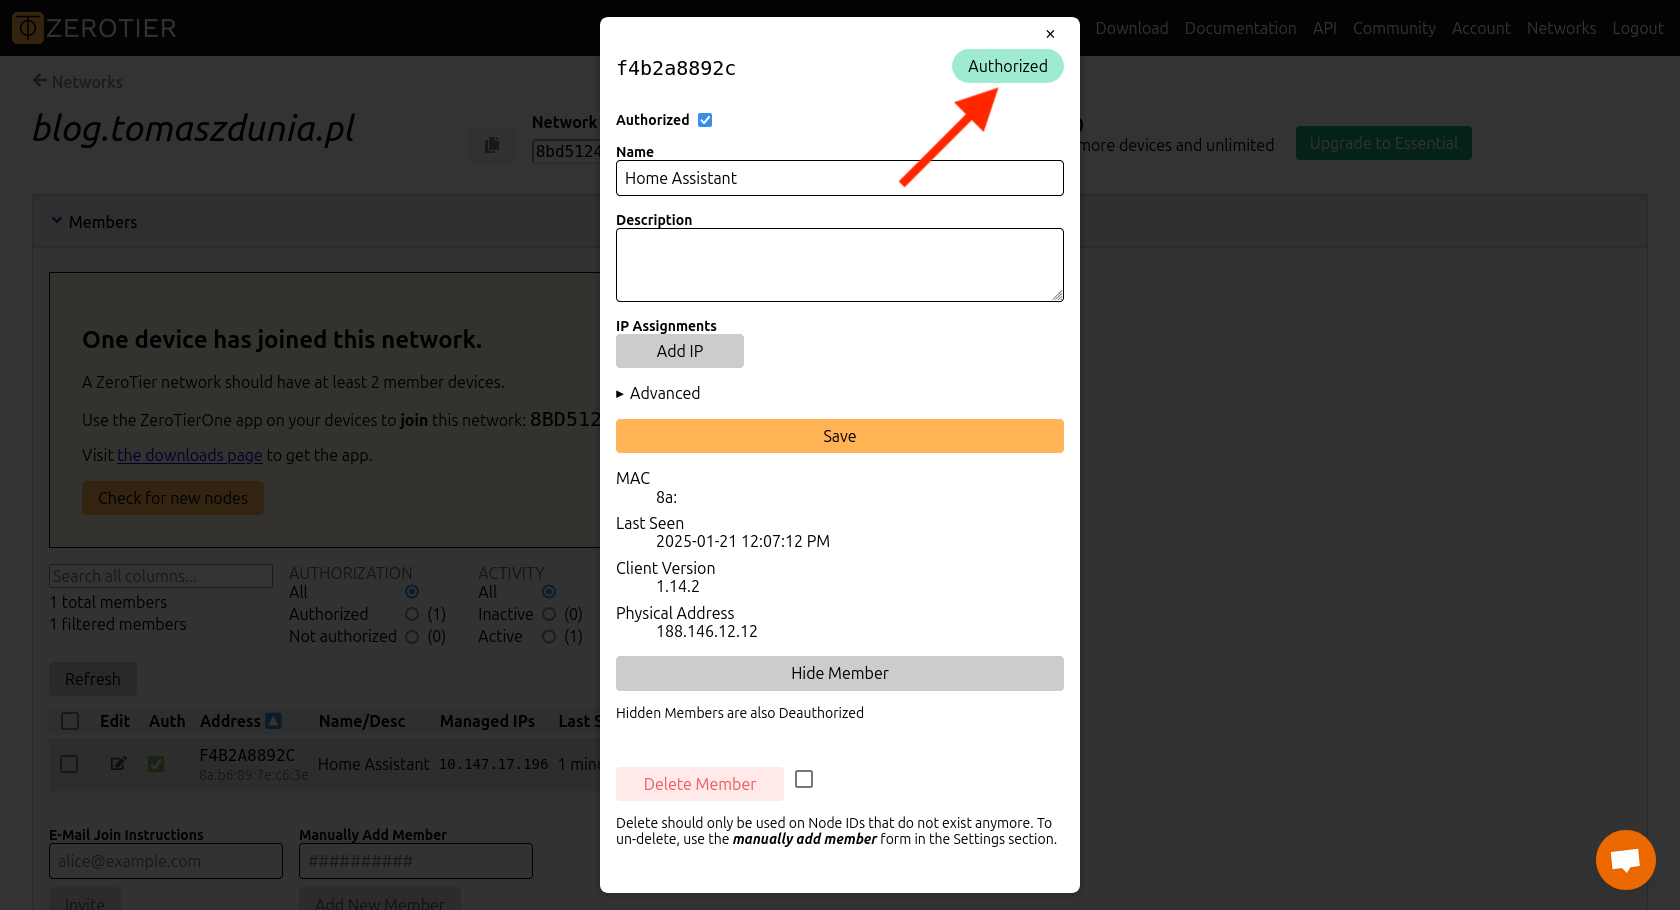
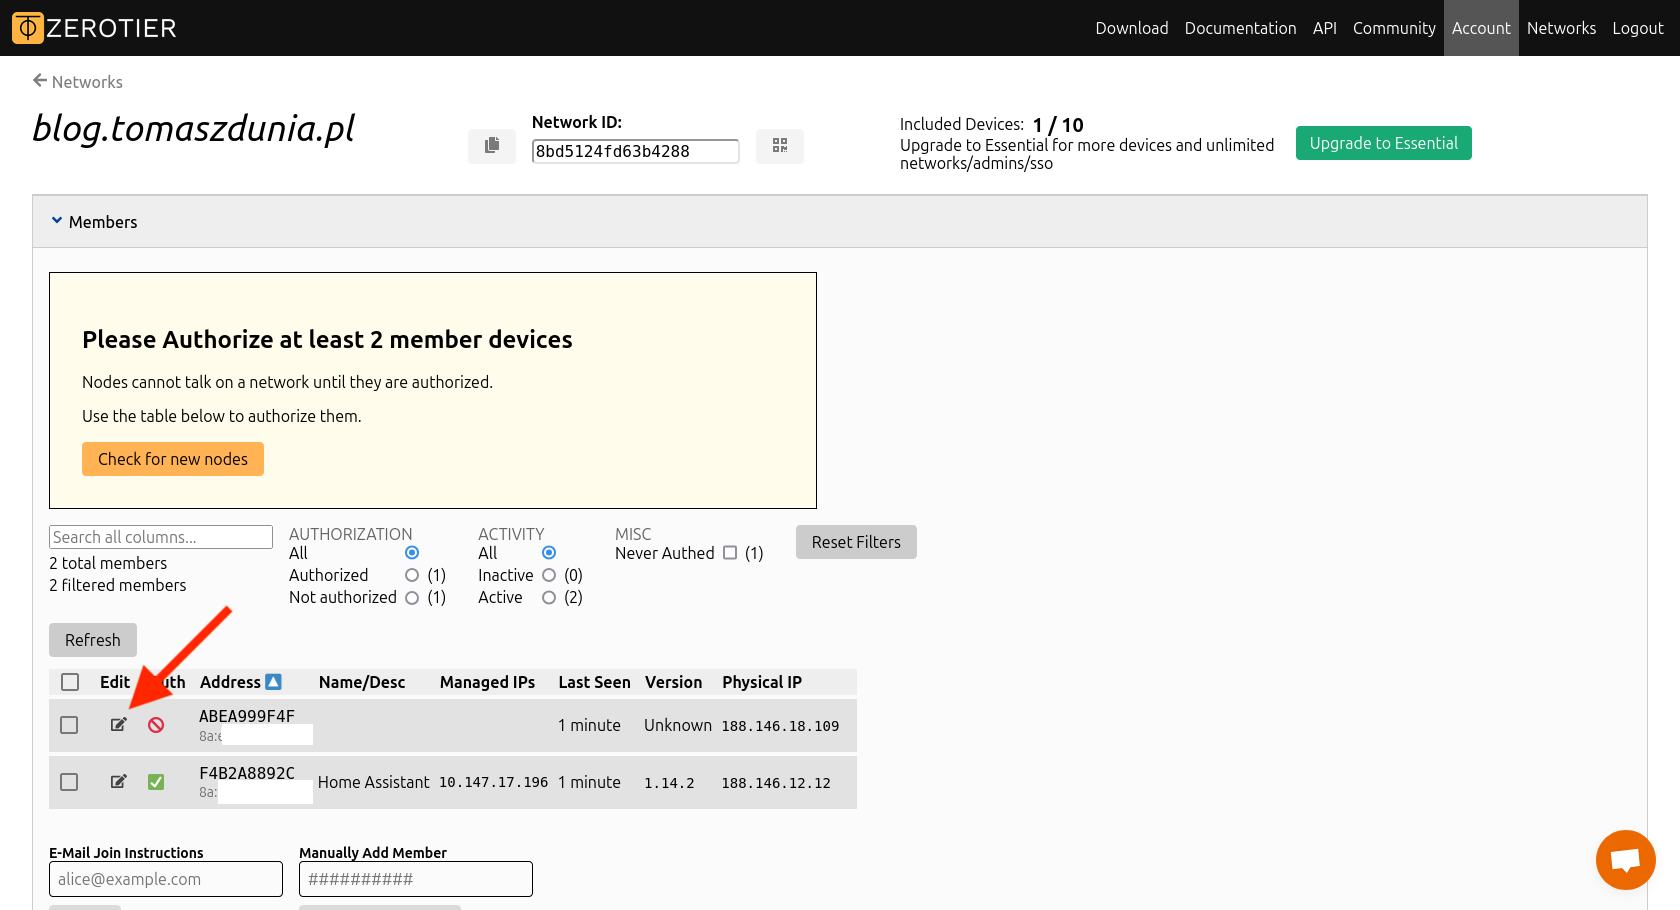
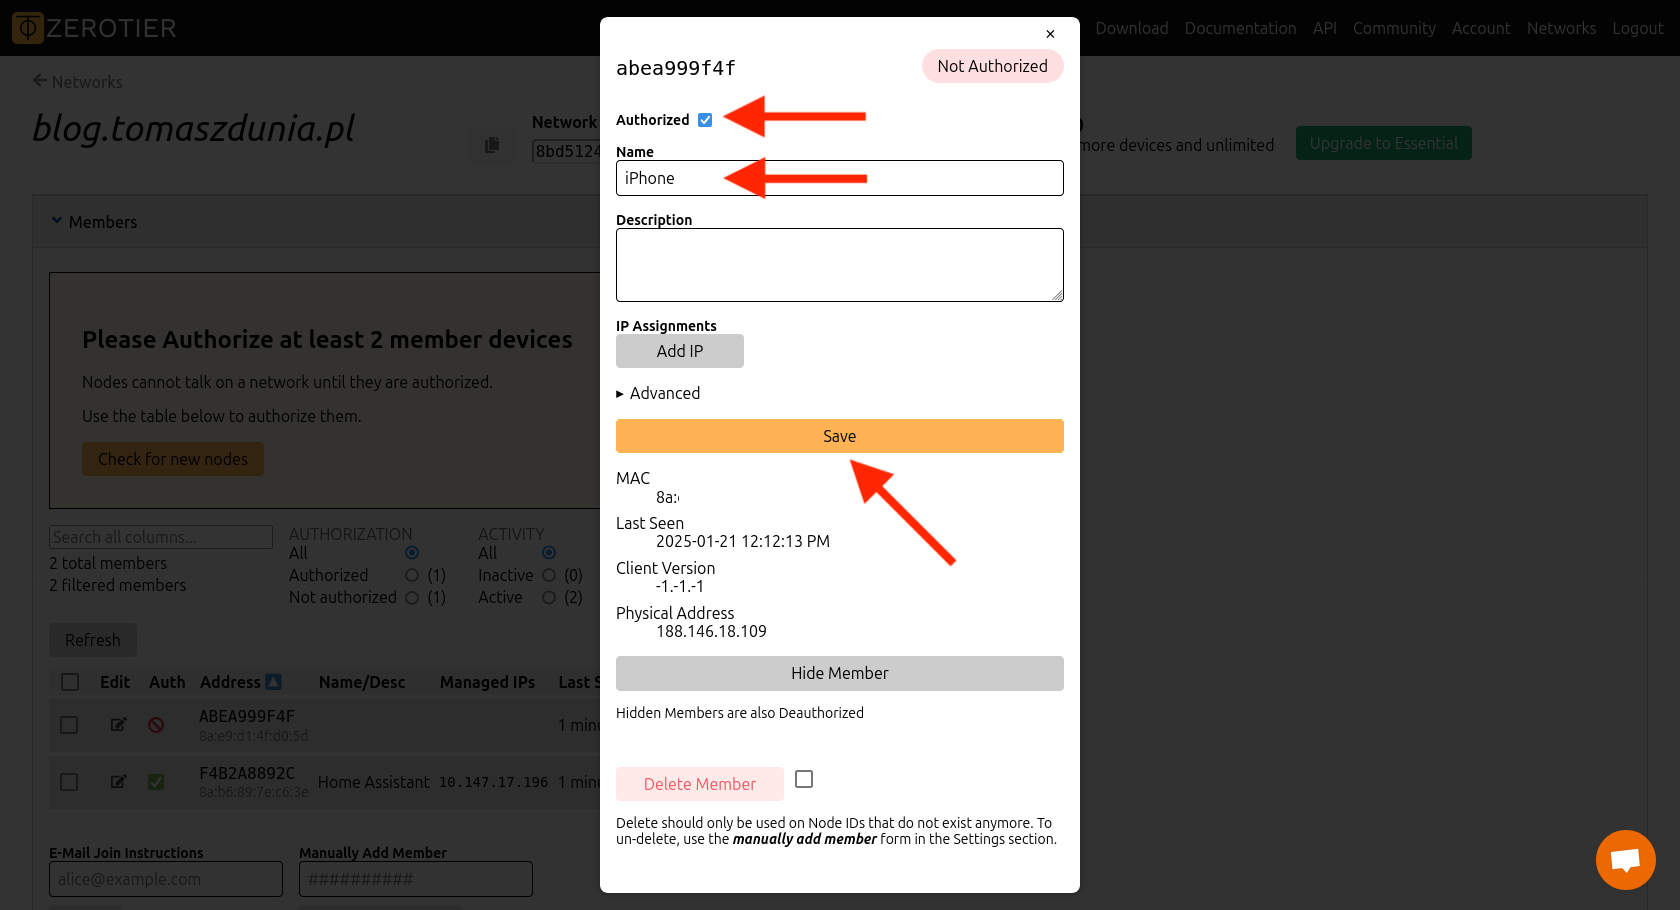
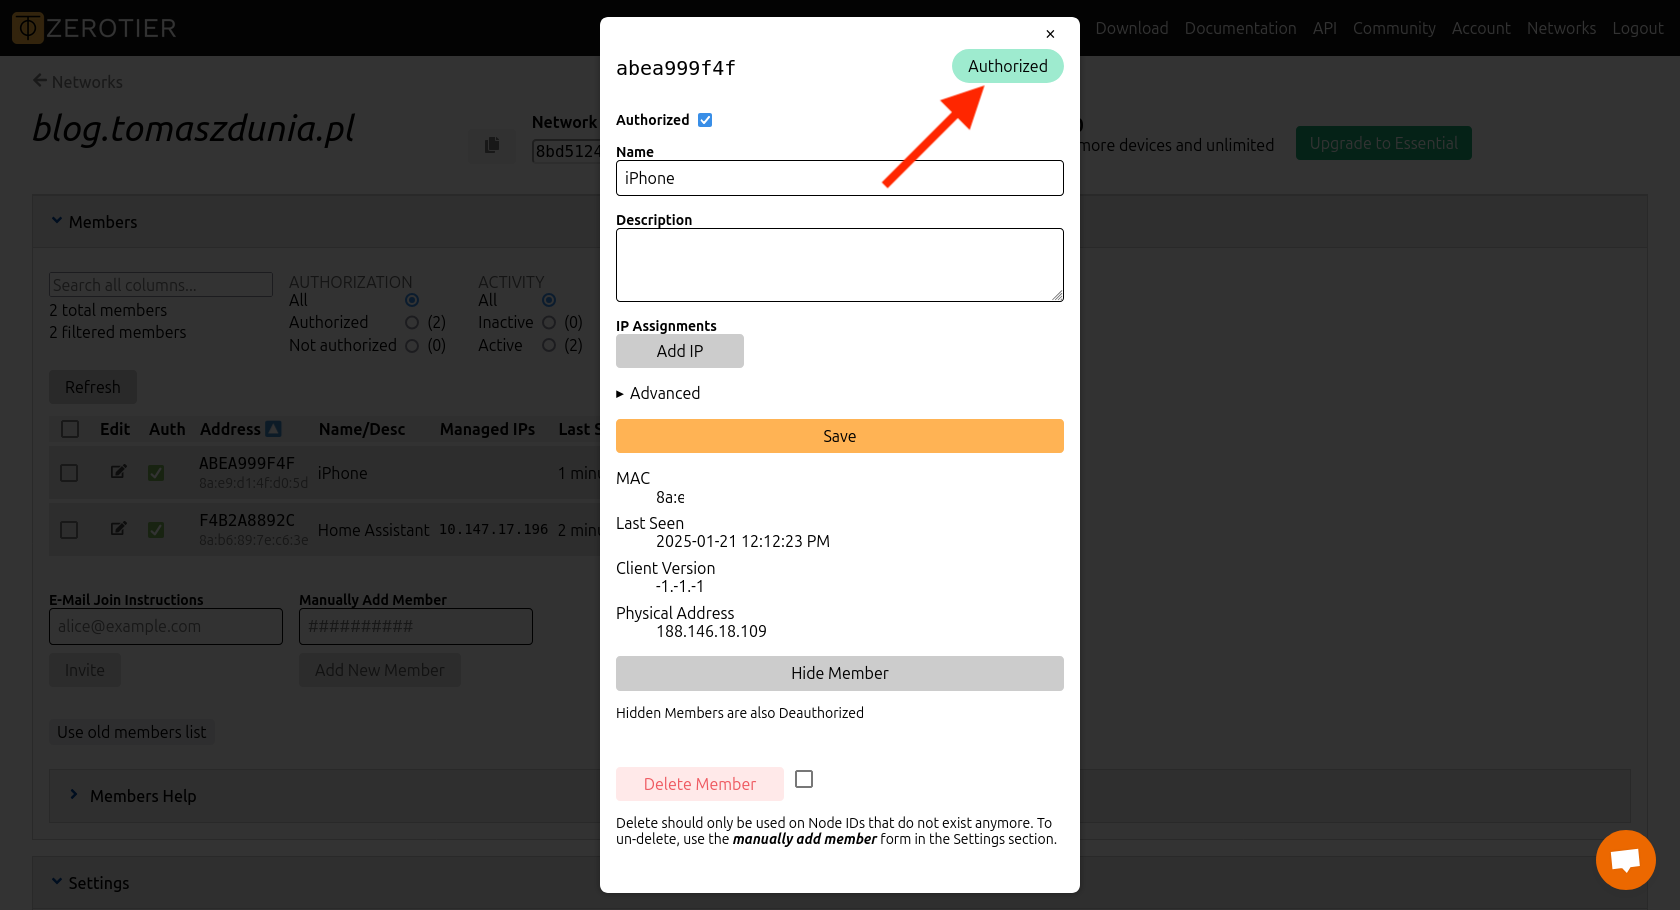
Return to the ZeroTier control panel and go to your network settings. In the Members section, you should see the first entry. In the Auth column, there will be a red icon indicating that the device has not yet been authorized to join the network. To authorize it, click the icon in the Edit column. A window will open where you need to check the Authorized box and enter a name for this device in the Name field. Finally, click the Save button. In the top right corner, a green-highlighted message Authorized will appear, confirming that the device is now permitted to connect to the virtual network.
Connecting your phone
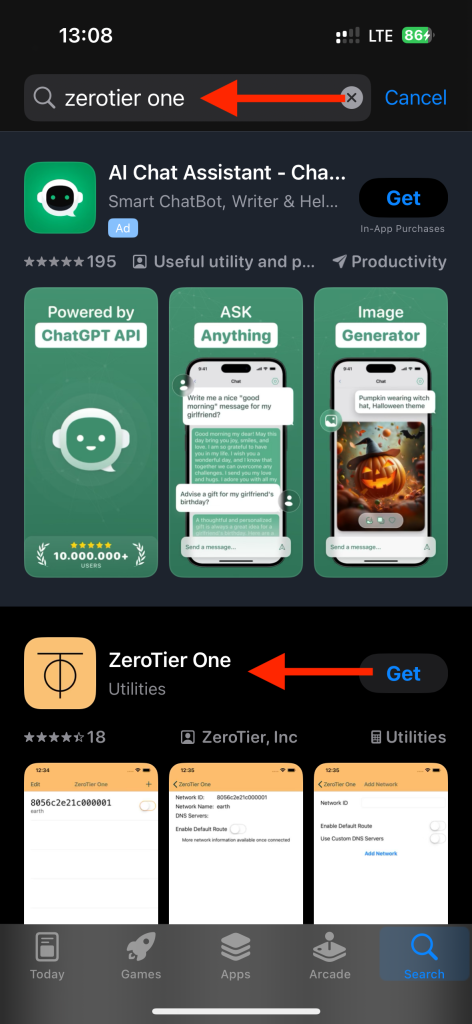
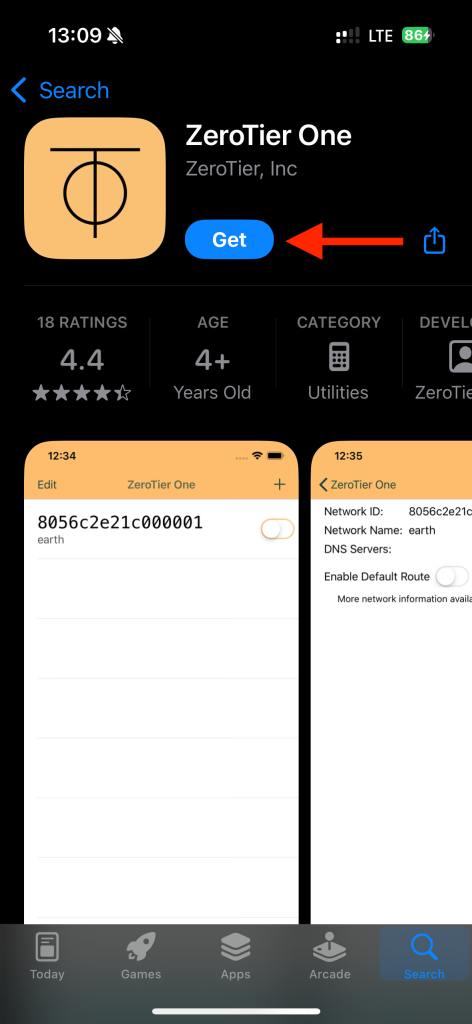
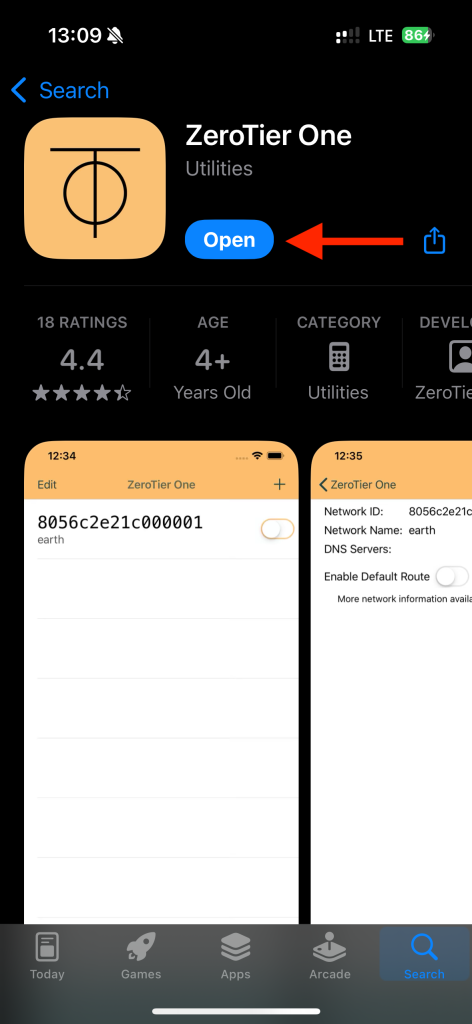
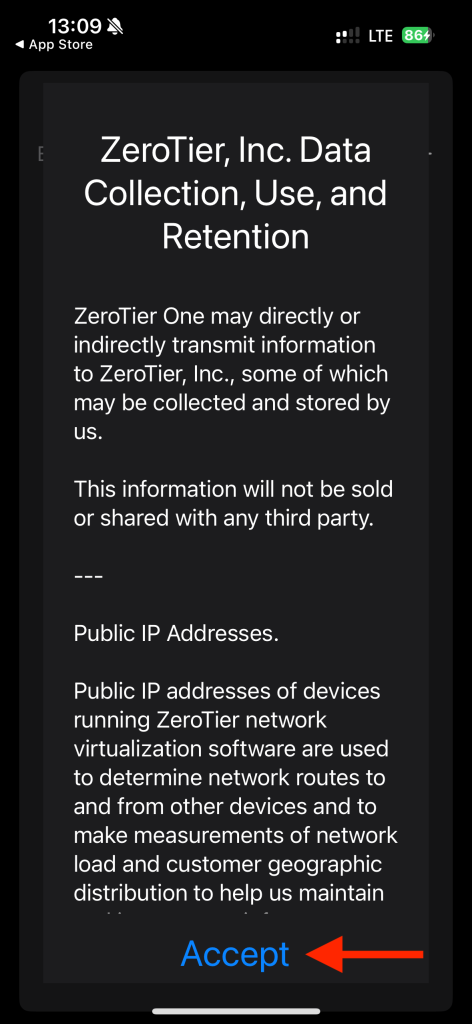
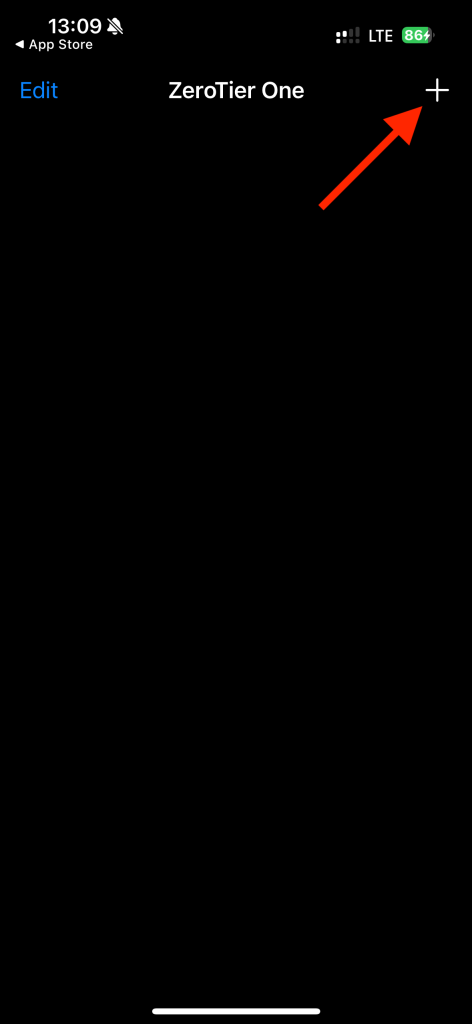
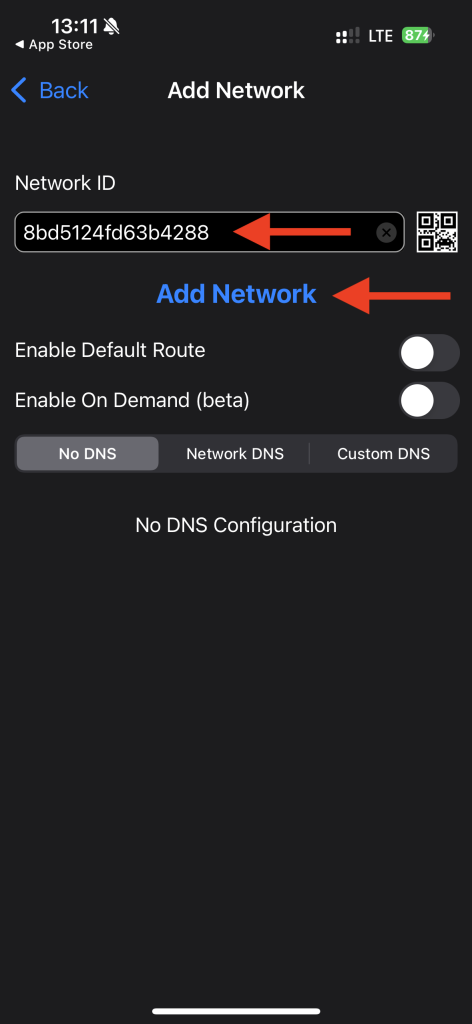
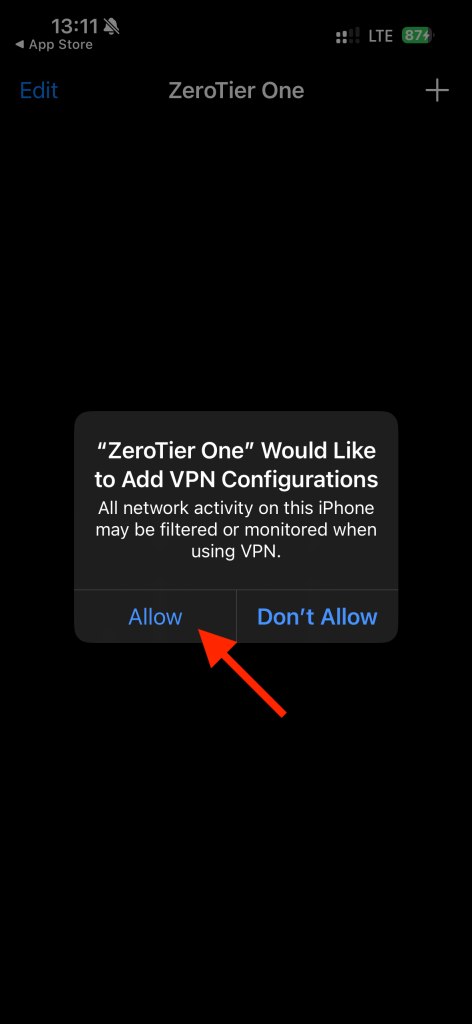
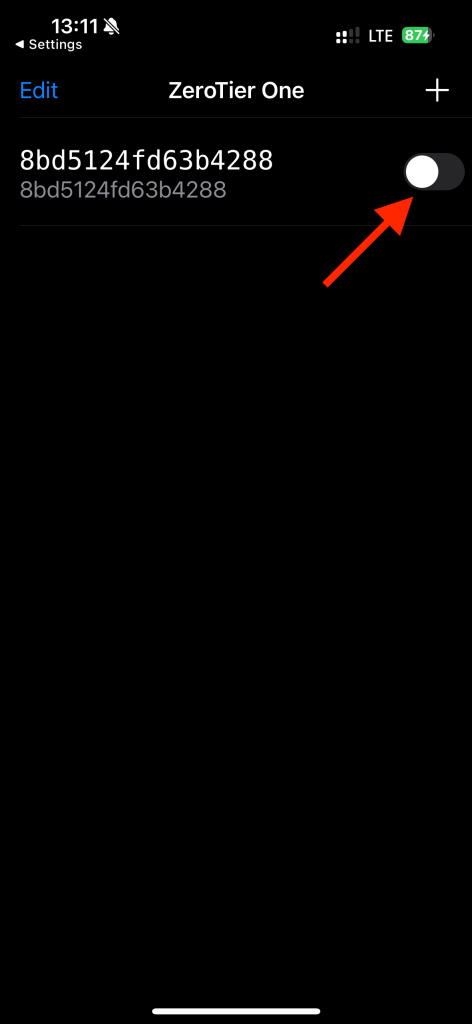
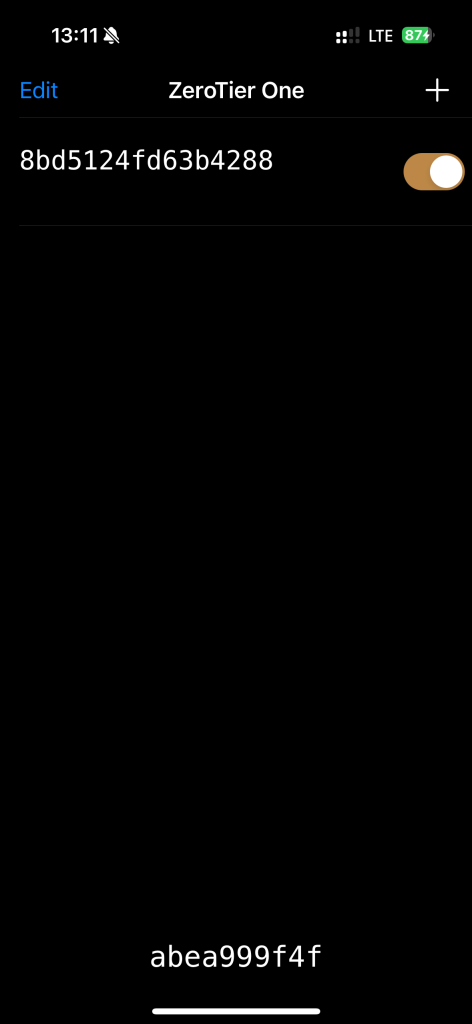
I have an iPhone, so the screenshots will show how to do this on iOS, but the process should be similar for Android. On your phone, go to the app store and search for the ZeroTier One app. Install and open it. At the start, it will ask you to accept the terms and conditions, so read them carefully (😎), and if you have no objections, press Accept. The next step is to add a new network, which is done by tapping the plus icon in the top right corner. In the Network ID field, enter the previously saved network identifier and press the Add Network button. The system will ask for permission to add a new VPN configuration—press Allow. The new network has been added. Now, you need to enable it using the toggle switch on the right side.
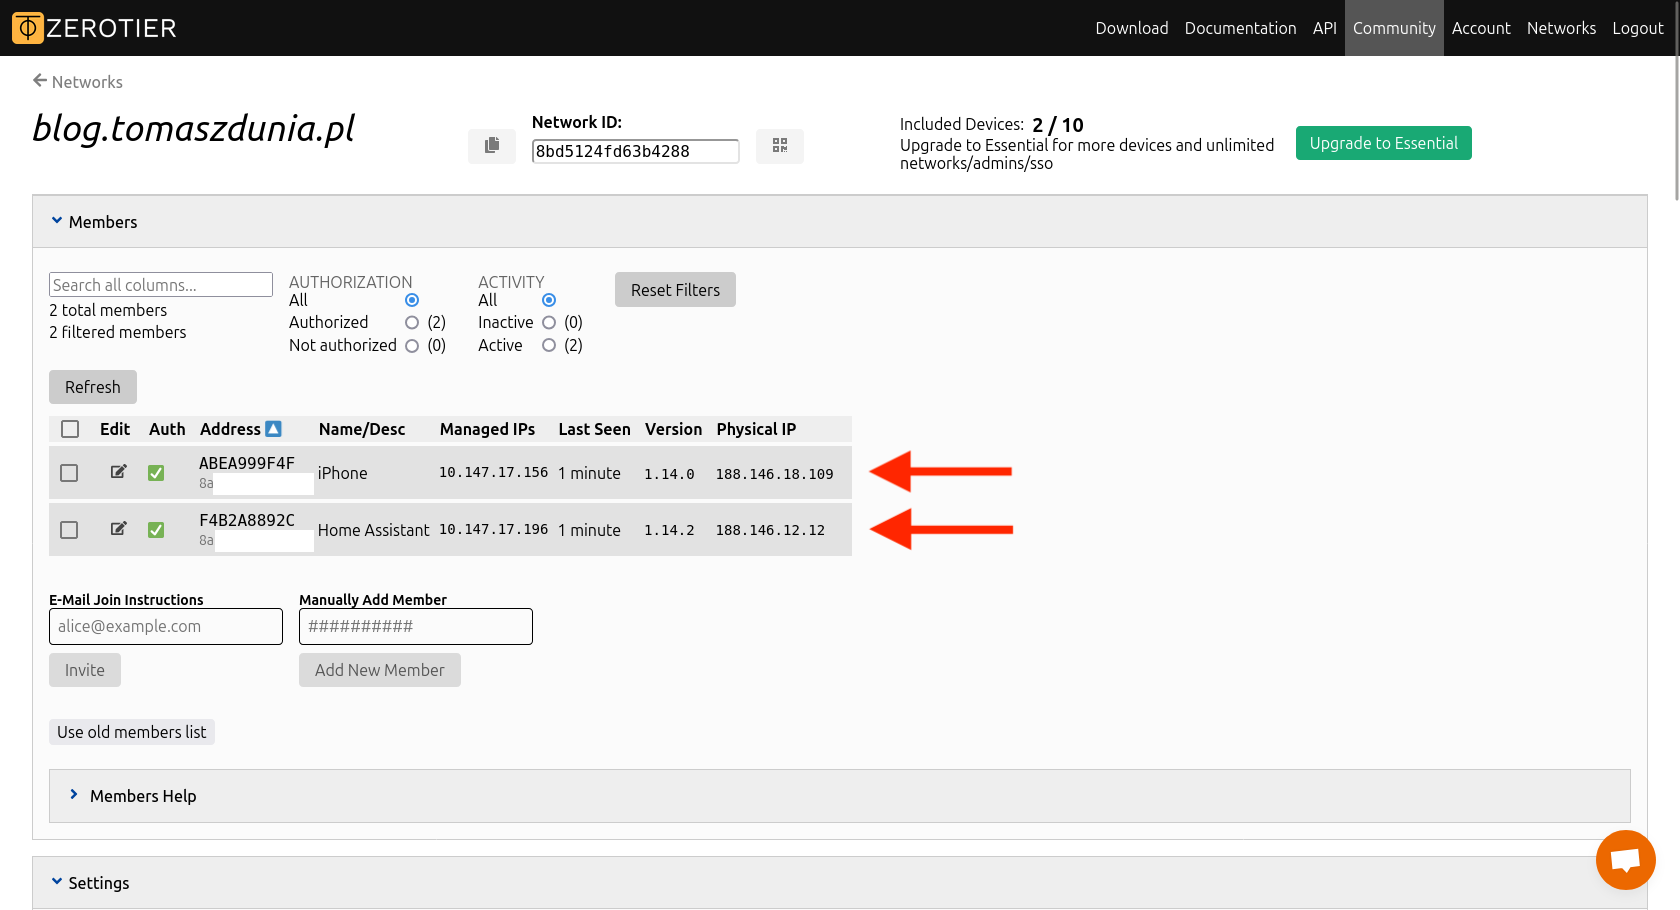
At this point, there’s nothing more to do on the phone. Now, it’s time to return to the ZeroTier control panel and authorize the phone. This is done the same way as described earlier, so I won’t repeat it. The final result should be having two devices on the list, which are now connected through the virtual ZeroTier network.
Let’s see if it works
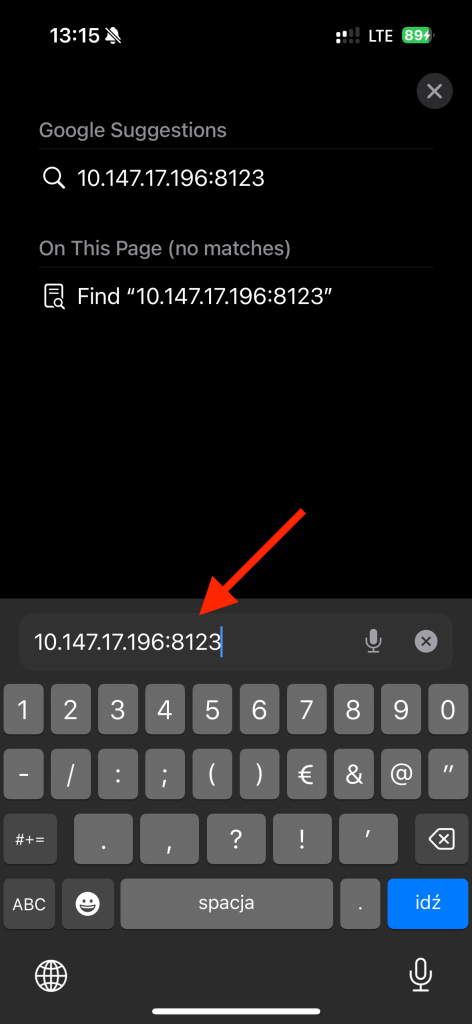
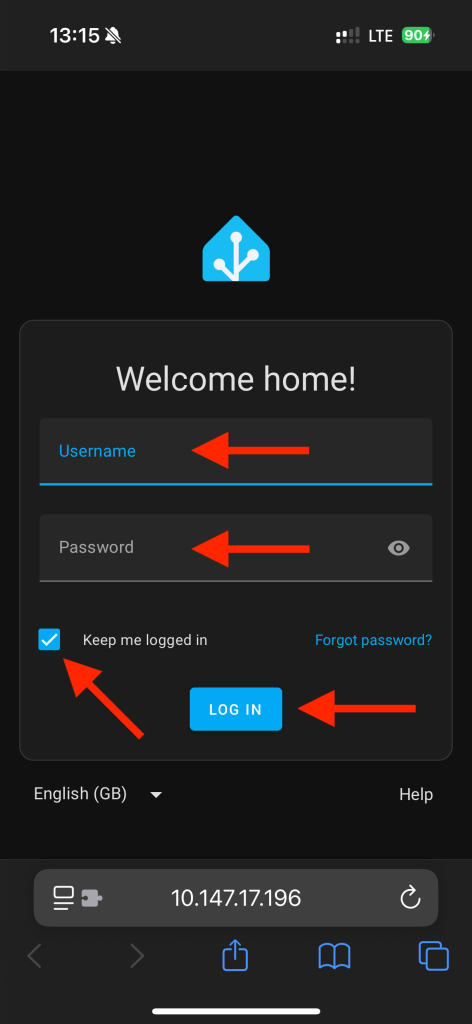
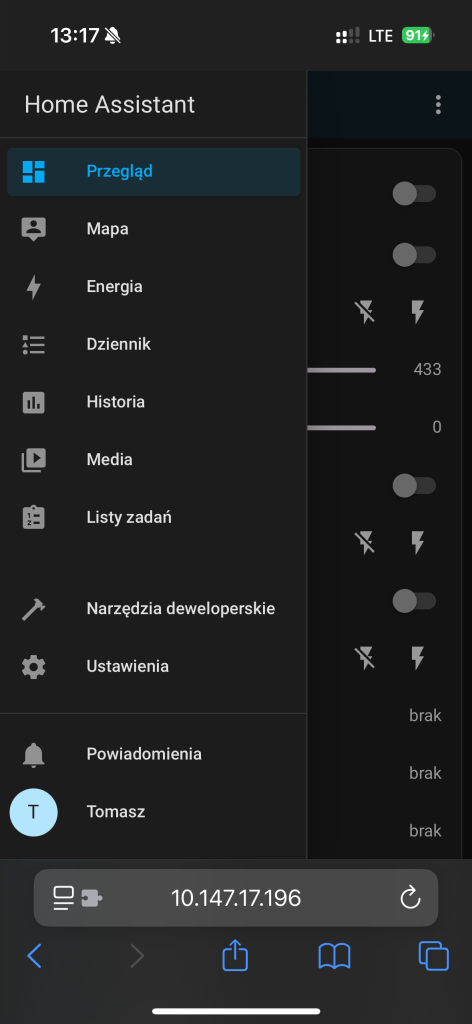
Everything went smoothly, but does it actually work? Disconnect from Wi-Fi, open your browser, and enter 10.147.17.196:8123 in the address bar. This address will likely be different for everyone. Essentially, it consists of the virtual network server address, which can be found in the Managed IPs column, followed by a colon and port 8123. If everything was set up correctly, you should see the Home Assistant login panel, and after entering the correct username and password, you’ll gain access to your home IoT management panel.
Home Assistant app
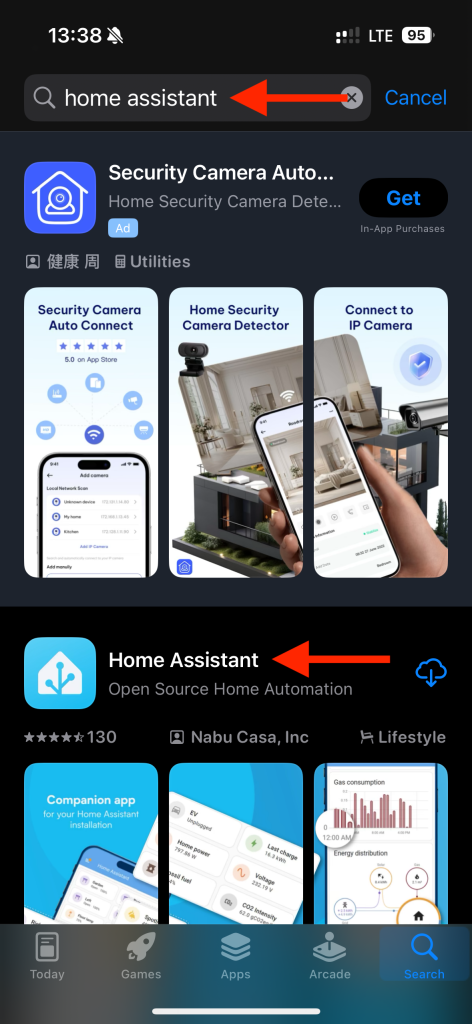
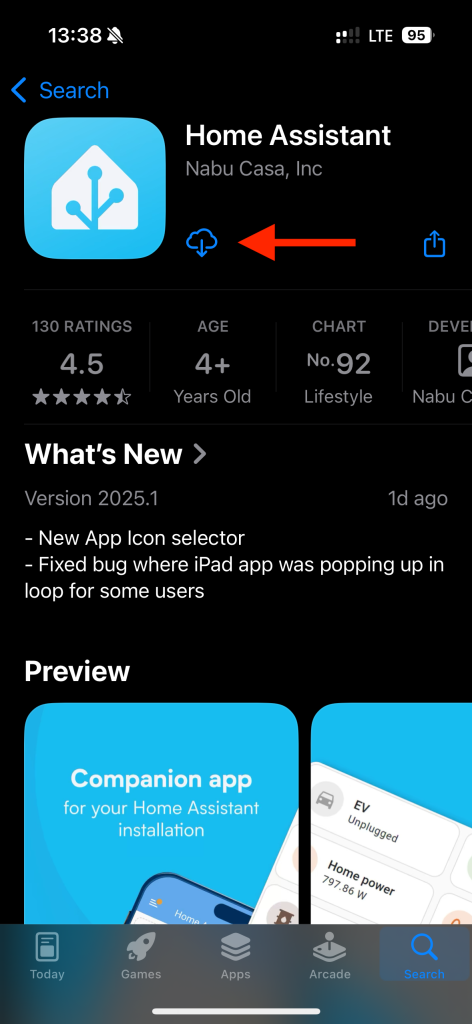
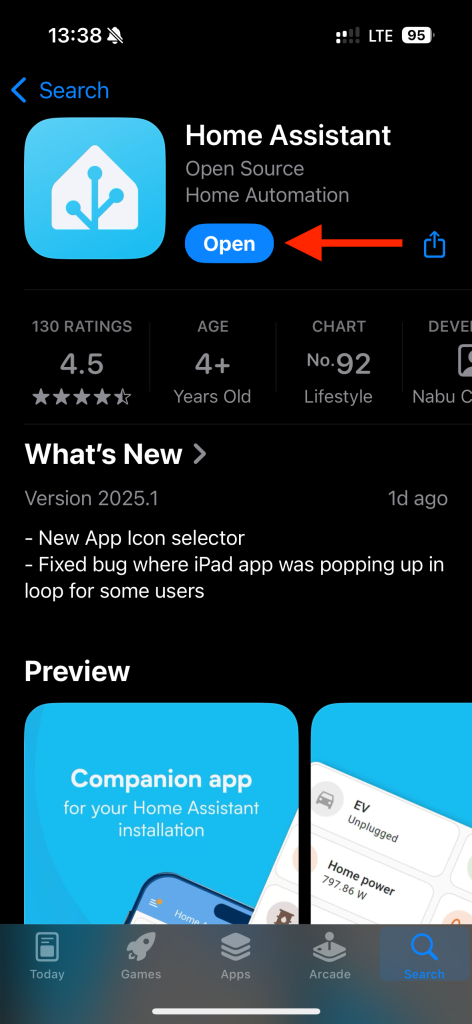
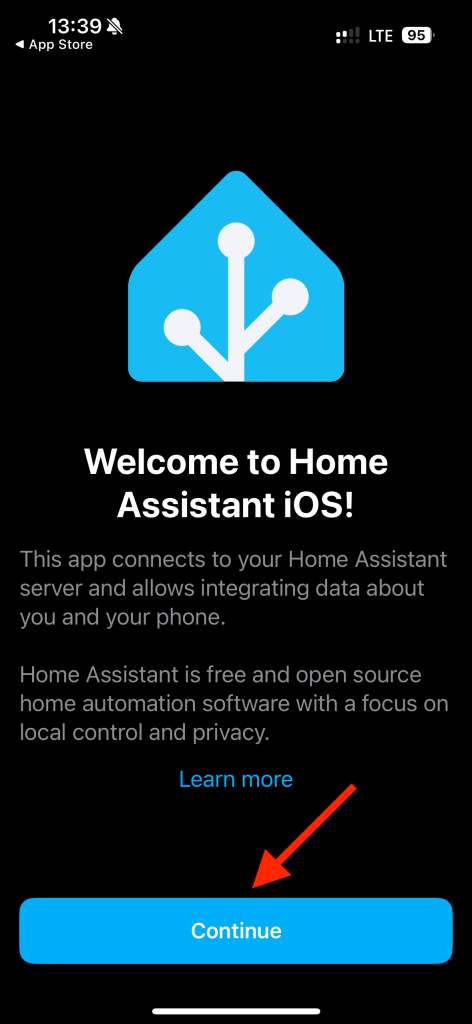
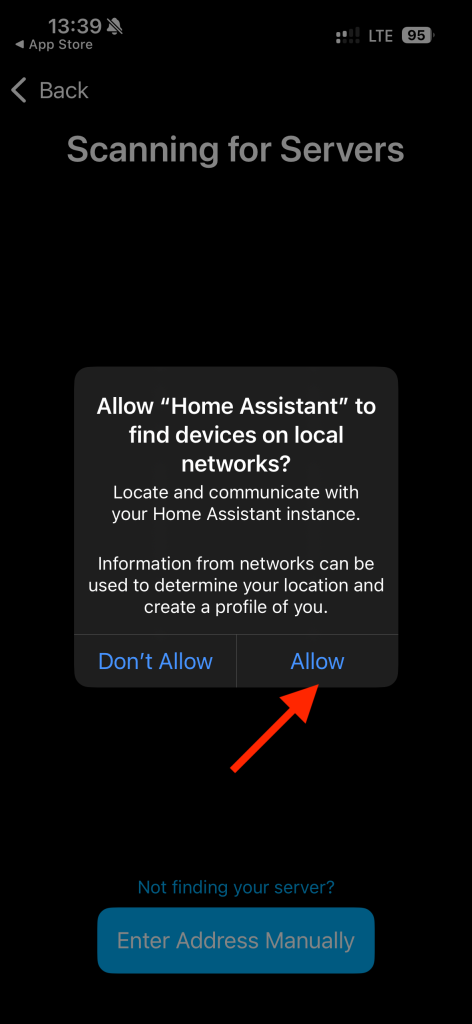
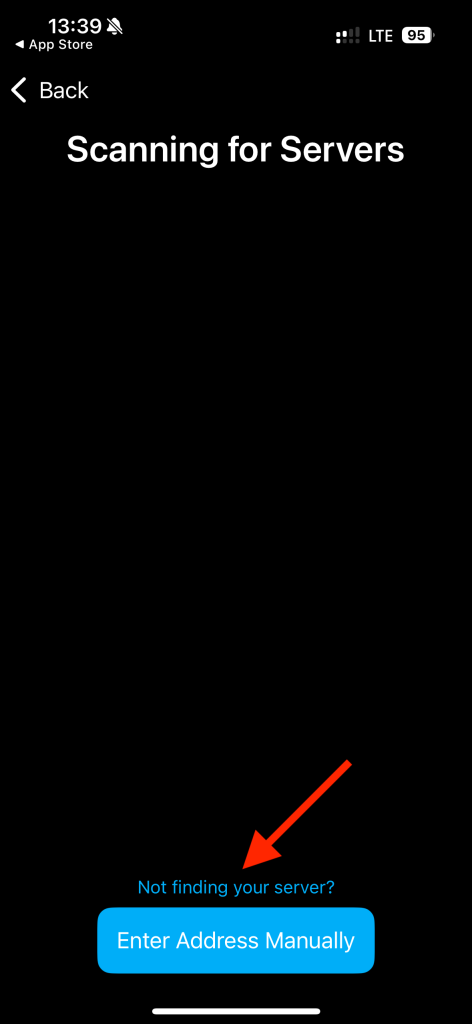
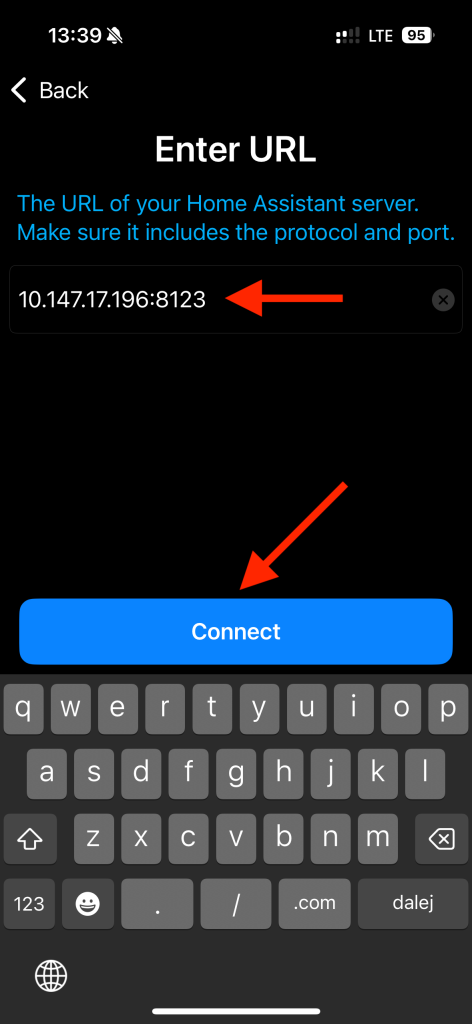
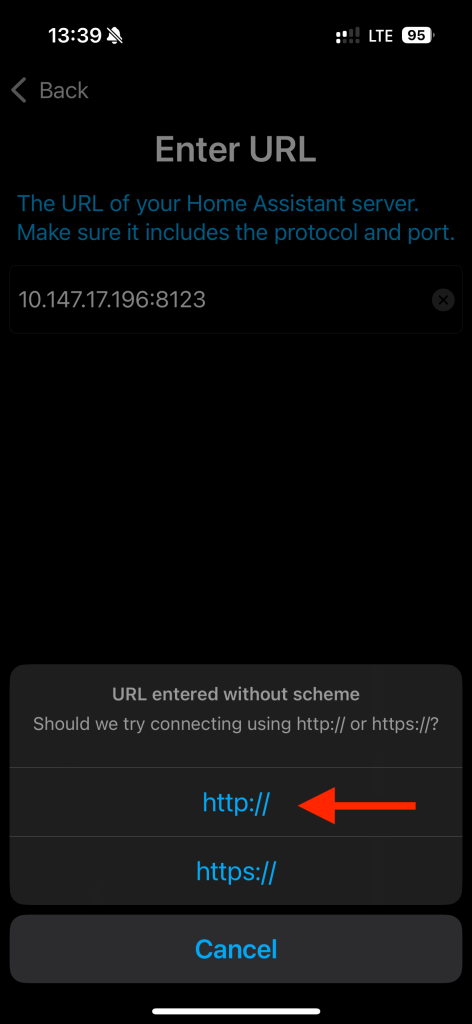
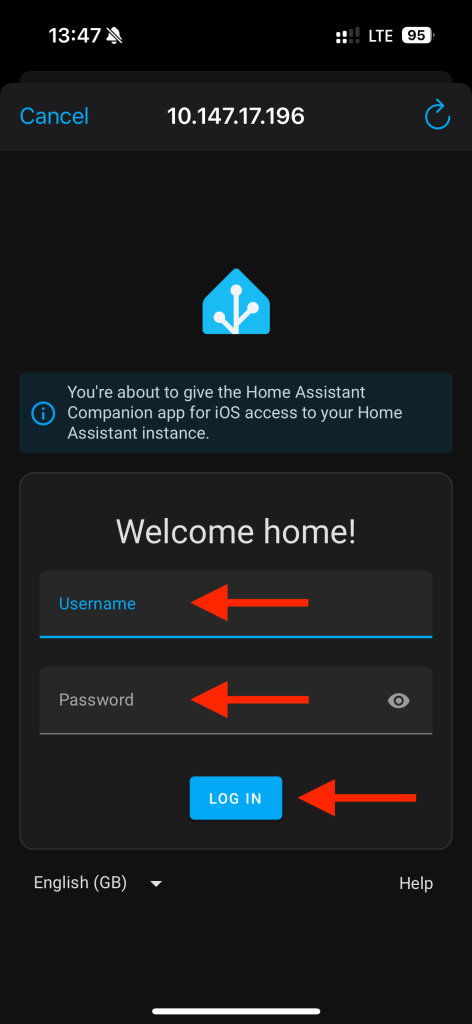
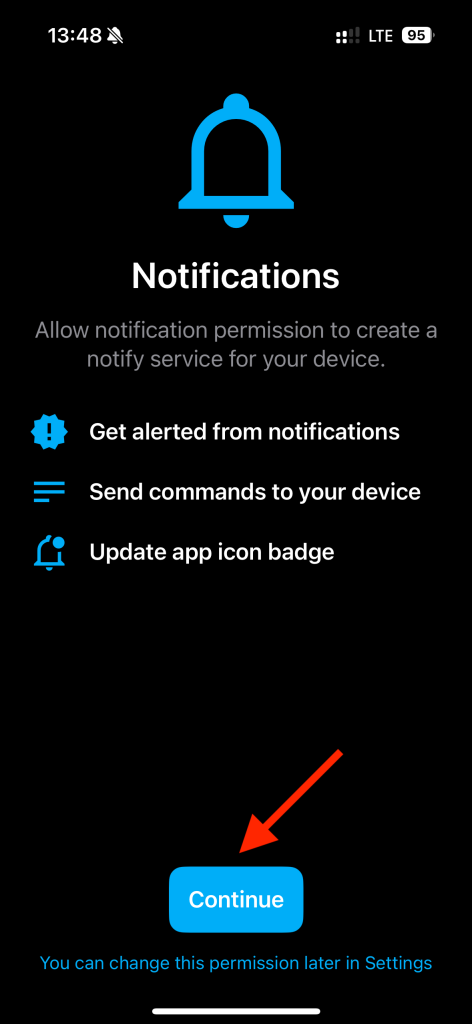
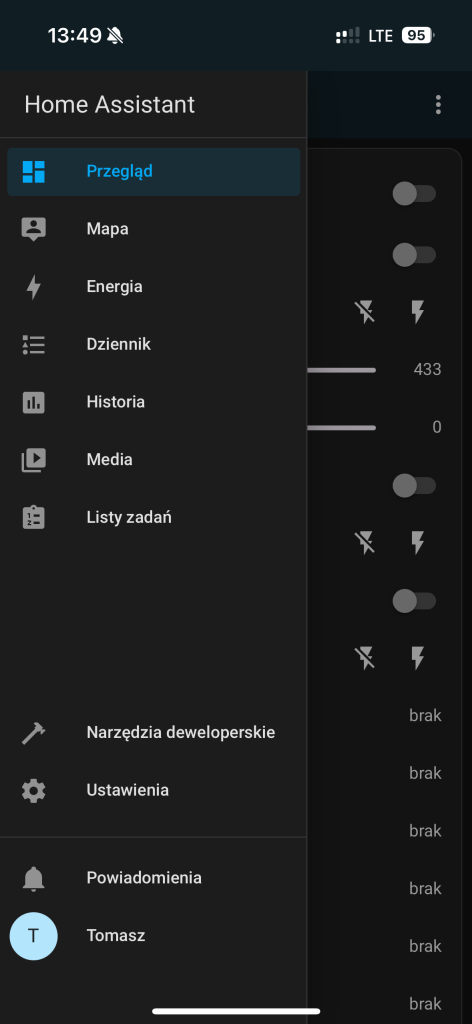
To achieve full convenience and satisfaction, we still need the Home Assistant app on our smartphone. So, we head to the app store and type Home Assistant into the search bar. We download and launch it. Right away, we see the welcome screen, where we tap the Continue button. The app will ask if we allow it to scan the local network for devices. You don’t have to do this, as it can be set up manually. In the next step, we get the option to enter the server address manually – Enter Address Manually. We input the same address we previously entered in the browser’s address bar. In my case, it was 10.147.17.196:8123. Then, we press the Connect button. A prompt will appear, informing us that we entered a plain address without specifying a protocol, so we select HTTP (http://). Finally, we go through the login screen, decide whether to enable notifications, and we’re all set. Now, we have real remote control over our smart home from our smartphone!
Summary
Although the method I described above is very easy, convenient, and free, it is important to remember that it is not a perfect solution. I have a few concerns about it, the main one being that we rely on third-party infrastructure, which can never be fully trusted. ZeroTier has a generally good reputation, but in reality, it means letting a third party into your home network. In emergency cases, when there is no other option, or as a temporary solution, it is acceptable. However, in the long run, I always recommend trying to obtain a truly public IP address from your internet provider and setting up a standard VPN tunnel for yourself, whether using WireGuard or even OpenVPN. This is a better solution because you set up your own VPN server on a router or a server running within your local network and connect it directly with your clients, without intermediaries. It’s a bit like “if you want something done right, do it yourself.”



Co myślisz?
Pokaż komentarze / Napisz komentarz